Hammock Camping Guide for Beginners (2026)
Beginner's hammock camping guide: how to hang a hammock, stay warm overnight, pick the right tarp and underquilt, and the full gear kit for 2026.
In this article · 12 sections
- Quick Answer: A Complete Hammock Setup, In Order
- Why Hammock Camping Beats Tent Camping (For the Right Trip)
- The Hammock Camping Gear Kit: What You Actually Need
- How to Hang a Hammock: The Technique
- Staying Warm in a Hammock: The Cold-Weather Playbook
- Campsite Selection: Where to Hang
- The Rest of Your Hammock Camping Kit
- Hammock Camping Checklist: The Complete Kit
- Common Hammock Camping Mistakes (Learn From Mine)
- Hammock Camping vs Tent Camping: Quick Decision Guide
- The Bottom Line
- Hammock Camping FAQ
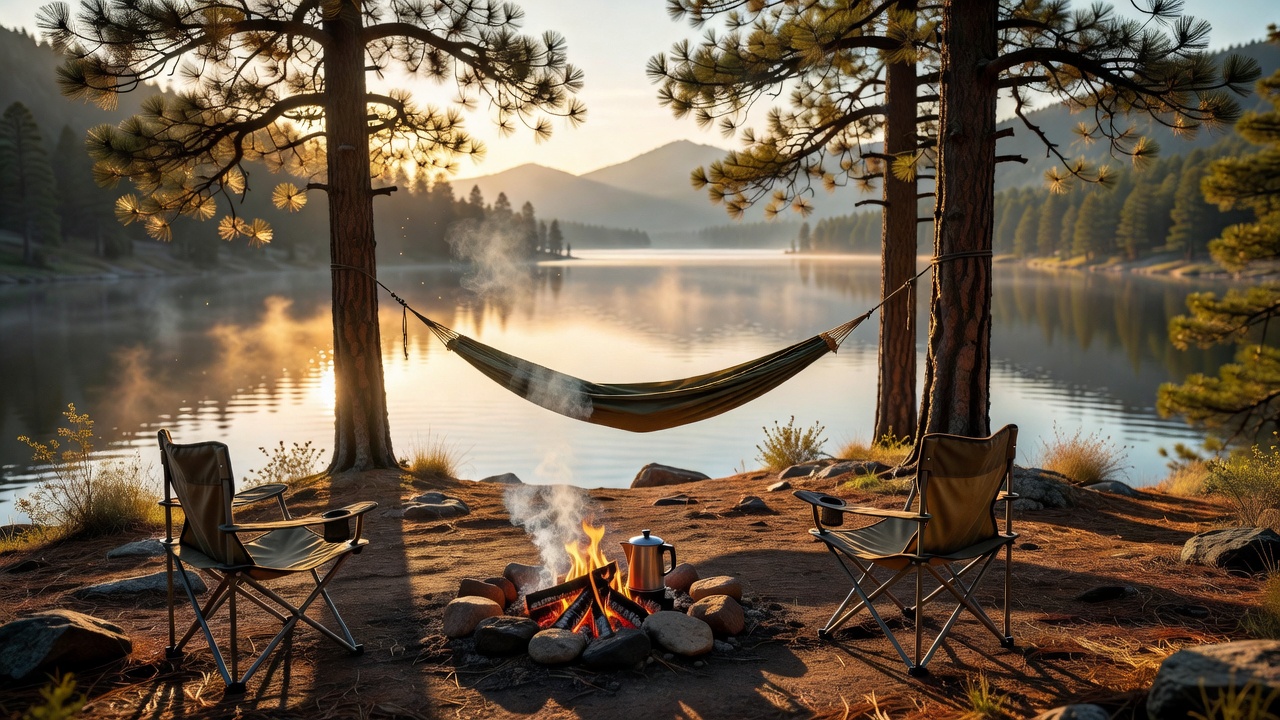
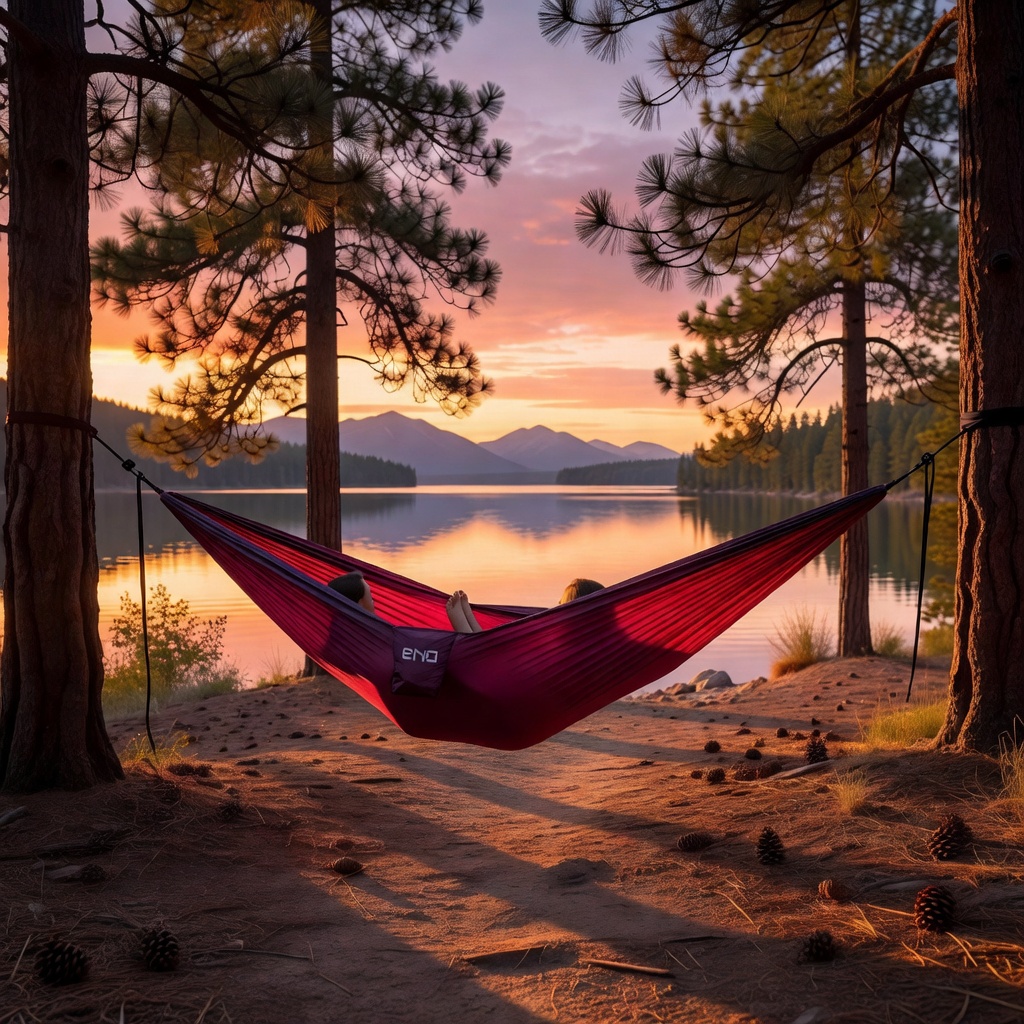
There's a specific moment that converts every hammock camper. You're lying there at dusk, gently swaying between two trees, nothing but cool air and a canopy of leaves above you, and it hits you: this is more comfortable than your bed at home. No rocks jabbing your back, no sloped ground sliding you into the corner of your tent, no puddle forming under your sleeping pad. Just you, the trees, and the sway.
Hammock camping is one of the fastest-growing segments of backpacking — and for good reason. A full kit weighs under three pounds, sets up in five minutes, costs less than a decent tent, and opens up campsites you literally cannot use with a ground shelter. That steep hillside? Perfect for a hammock. That rocky outcrop? Even better. That patch of ground that's nothing but roots and puddles? A hammock camper doesn't even notice.
But hammock camping has a learning curve that catches people off guard. Get the hang angle wrong and you wake up folded in half like a taco. Skip the underquilt and you'll freeze at 2 AM even in mild weather. Hang from a dead tree and you're in genuine danger. This guide covers everything you need to start hammock camping safely and comfortably — the gear, the technique, the cold-weather tricks, and the mistakes I've made so you don't have to.
Quick Answer: A Complete Hammock Setup, In Order
Hammock camping converts people fast, but beginners skip one piece and sleep cold. Here is the full kit, in the order you should buy it:
- 1. The hammock: ENO SingleNest ($54.95) is the classic solo starter. For two people, the ENO DoubleNest ($75.00), or the budget Wise Owl Hammock ($43.91).
- 2. Tree-friendly straps (never rope): the ENO Atlas Straps ($29.95) protects the bark and makes hang height easy to adjust.
- 3. The piece everyone skips — bottom insulation: an underquilt like the OneTigris Hideout Underquilt ($39.98) is what makes a 40°F night comfortable instead of miserable. Sleeping bags compress under you and do almost nothing.
- 4. Rain cover: the OneTigris Bulwark Tarp ($56.98) pitches over the ridgeline and keeps you dry in a real storm.
- 5. Bug protection in season: the ENO Guardian Bug Net ($39.95), or the lighter Wise Owl Bug Net ($27.99).
Get the 30° hang angle and the diagonal lay right, and a sub-three-pound kit beats most tents for comfort.
Why Hammock Camping Beats Tent Camping (For the Right Trip)
Let's be clear upfront: hammock camping isn't better than tent camping in every situation. It's better in specific situations, and knowing the difference is the key to enjoying it.
Hammock camping wins when:
- The ground is terrible — rocky, root-covered, sloped, wet, or frozen. A hammock doesn't care about any of it.
- You're backpacking in warm-to-mild weather — spring through fall in most climates, a hammock setup is lighter and faster than a tent.
- You want to camp in unusual spots — overlooks, ridgelines, forest slopes. Anywhere two solid trees are spaced 12–15 feet apart.
- You sleep on your back or side — hammocks cradle you in a flat diagonal lay that's surprisingly comfortable, even for side sleepers once you get the angle right.
Tent camping still wins when:
- You're car camping with a family or group — a tent fits multiple people, gear, and a dog. A hammock is solo (or a pair of hammocks, separately hung).
- The weather drops below freezing — staying warm in a hammock at 20°F is possible but requires serious gear and technique (more on this below).
- There are no trees — desert, alpine above treeline, or open beach. No trees, no hammock. Our backpacking vs car camping guide breaks down shelter choices by trip type.
If you're still deciding between ground and suspended sleep, the complete beginner's camping guide covers the full range of shelter options. But if you're ready to go airborne, read on.
The Hammock Camping Gear Kit: What You Actually Need
A complete hammock camping setup has five core components. Get all five right and you'll sleep like a baby. Skip one and you'll learn why the hard way.
1. The Hammock
This is the obvious starting point. For camping (not backyard lounging), you want a ** parachute nylon hammock** that's at least 9–10 feet long and 4–5 feet wide. Wider is better for comfort — it lets you lie diagonally and achieve a flat lay instead of curling into a banana shape.
The ENO SingleNest Lightweight Camping Hammock ($54.95) is the benchmark that most beginners start with — it's the Toyota Corolla of hammocks: not the fanciest, not the cheapest, but reliably good, widely available, and backed by a decade of trail-tested reputation. It packs to the size of a grapefruit and holds 400 pounds. If you're starting from zero and just want something that works, this is it.
Camping as a couple or hanging with a kid? The ENO DoubleNest ($75.00) uses the same gathered-end design stretched to 9.5 feet — roomy enough for two to lounge together or one sprawler who likes space to roll. It's the classic upgrade when you'd rather share a hang than hang separately.
Price: $54.95
One thing to know about the ENO SingleNest: it's designed as a "gathered end" hammock, meaning both ends scrunch into a single cord attachment point. This is the most common style and the easiest for beginners. More advanced campers eventually move to "bridge hammocks" or cottage-brand flat-lay designs, but gathered-end is where 90% of people start and stay.
Budget tip: You don't need to spend more than $60 on your first camping hammock. The technology is mature — parachute nylon is parachute nylon. Spend your money on the insulation and suspension instead, which matter far more for comfort.
Budget Alternative: Wise Owl Outfitters Camping Hammock ($43.91) — if the ENO feels steep for a first hammock, the Wise Owl is the best budget pick: same gathered-end parachute nylon design, but the tree straps AND carabiners come in the box, and the 500-pound rating shrugs off kids and gear. It packs down just as small, and the ~$11 you save is exactly what an underquilt cushion needs. It's the hammock most reviewers recommend when the question is "cheapest one that won't let me down."
2. The Suspension System
The suspension is what connects your hammock to the trees — and this is where beginners cheap out and regret it. You need tree-friendly straps (at least 0.75 inches wide to protect the bark) with adjustable attachment points.
Your hammock may come with basic carabiners, but you'll need to add the straps separately. Look for daisy-chain straps with 10–15 loops each, which let you fine-tune the hang angle without retying knots — the ENO Atlas Suspension System ($29.95) is the most popular set: 9-foot straps, 15 adjustment loops, and a 400-pound rating. A good set of 10-foot straps costs $20–30.
Never use thin cord or rope — it cuts into tree bark and kills the tree, and most public lands now ban narrow suspension. The Leave No Trace principle applies here: wide straps, healthy trees, packed-out everything.
3. The Insulation (Top Quilt + Underquilt)
This is the part that makes or breaks hammock camping, and it's the #1 reason beginners give up after one cold night.
Here's the physics: when you sleep on the ground, your sleeping pad insulates you from the cold earth. In a hammock, the air beneath you is cold and moving. Your back gets compressed against the hammock fabric, crushing the insulation in your sleeping bag until it provides almost no warmth. You can have a 0°F bag and still freeze at 50°F if you don't solve the bottom insulation.
The solution is an underquilt — a layer of insulation that hangs below the hammock, outside the fabric, where it stays lofted and traps warm air against your back. This is non-negotiable for any overnight below 70°F.
Our pick for most campers: the OneTigris Hideout Full-Length Underquilt ($39.98) — a full-length synthetic quilt rated down to about 20°F that clips onto the hammock in minutes with shock-cord suspension. Full-length coverage means your hips and feet stay warm, not just your torso, and it packs small enough for backpacking. It won't beat a $250 down quilt in weight, but it solves the cold-butt problem for a third of the price.
Price: $39.98
For the top, you can use a standard sleeping bag as a top quilt (unzipped and used like a blanket), or a dedicated top quilt. Either works.
The Kelty Cosmic Down 20 Degree Sleeping Bag ($169.95) is an excellent budget down bag that works beautifully as a top quilt — 550-fill down compresses to almost nothing and weighs under 3 pounds. The 20°F rating gives you a comfortable margin down to freezing, which covers three-season hammock camping for most climates.
Price: $169.95
For genuinely cold nights, the TETON Sports Celsius XXL 0°F Sleeping Bag ($89.99) is the value pick — it's heavy (over 6 pounds, not for backpacking) but genuinely warm, and the XXL size gives you room to layer clothes inside. For car-camping hammock trips in late fall, this paired with an underquilt will keep you warm well below freezing.
Price: $89.99
Want a deeper dive on ground-based sleep insulation? Our sleeping bag comparison guide covers ratings, fill types, and temperature selection in detail.
4. The Tarp
A tarp is your roof. Even on a clear night, you want one — dew and condensation will soak you by morning, and a sudden shower at 3 AM is a common hammock camping rite of passage.
You want a dedicated hammock tarp, not a blue hardware tarp. Hammock tarps are lighter, pack smaller, and are shaped to cover the longer, wider footprint of a suspended sleeper. The two main styles:
- Asymmetric (ASym) tarps — minimal coverage, very light. Best for fair weather and ultralight backpackers. Covers just the hammock and nothing else.
- Hex or diamond tarps — more coverage, better in wind and rain. The sweet spot for most campers. Can be pitched tight for storms or high and open for stargazing.
A good hex tarp with guy lines and stakes runs $40–80 for entry-level sil-nylon, $150+ for ultralight sil-poly or Dyneema. Size matters: make sure your tarp is at least 11 feet long to cover your hammock with overhang at each end.
Our pick: the OneTigris Bulwark All-Season Tarp ($56.98) — a 12.8 x 9.5 ft waterproof sil-nylon tarp with 19 tie-out points. It clears an 11-foot hammock with room to spare, pitches storm-tight or high and open, and doubles as a camp kitchen canopy or shade on fair-weather trips. At 2.4 pounds it's not for ultralight gram-counters, but for most campers it's the one tarp that does everything.
Price: $56.98
5. The Pillow and Comfort Extras
Yes, you want a pillow. Bunching up a jacket "works" the way sleeping on a rock "works" — technically possible, not enjoyable.
The TREKOLOGY ALUFT 2.0 Ultralight Inflatable Camping Pillow ($16.99) is the value pick — it inflates in a few breaths, weighs 2.8 ounces, packs to fist-size, and the flocked top keeps it from sliding around. At this price, there's no reason to suffer.
Price: $16.99
If you want premium comfort, the Sea to Summit Aeros Premium Inflatable Pillow ($49.95) uses a contoured air cell design that actually cradles your neck and head — it's the closest thing to a real pillow you'll find in the backcountry. For side sleepers especially, the curved side panels make a real difference.
Price: $49.95
How to Hang a Hammock: The Technique
This is where beginners mess up. The good news: once you get it right, it takes 90 seconds every time.
The 30-Degree Rule
The single most important rule in hammock camping: your suspension straps should hang at a 30-degree angle from the tree to the hammock. Not steeper, not flatter. Thirty degrees.
Why it matters:
- Too steep (more vertical): The hammock hangs high and tight. You feel like you're in a taut cocoon, the fabric puts pressure on your shoulders, and the suspension is under massive tension — it can damage trees and snap cheap straps.
- Too flat (more horizontal): The hammock sags into a deep U. You curl into a banana shape, your feet slide above your head, and your lower back aches within an hour.
- At 30 degrees: The hammock has just enough sag to let you lie diagonally and achieve a flat, comfortable position. The load on each anchor point is roughly equal to your body weight — safe for trees and gear.
How to eyeball 30 degrees: When your hammock is hung and you sit in the center, it should drop to about chair-height (18 inches off the ground). If it's at your waist, you're too high. If your butt touches the ground, you're too low.
The Diagonal Lay
Once you're hung at the right angle, the magic is in how you lie down. Don't lie straight (head at one end, feet at the other) — that's the banana-curl position that gives hammocks a bad reputation.
Instead, lie diagonally — angle your body about 30 degrees off the centerline of the hammock, so your head is near one side and your feet are near the other. When you do this, the gathered-end fabric flattens out and you can lie nearly level, even on your side or stomach. This is the "aha" moment that converts skeptics.
It takes a few tries to find your diagonal sweet spot. Roll around, experiment, and you'll feel when it clicks — suddenly you're flat, supported, and not sliding anywhere.
Picking Safe Trees
Before you hang anything, inspect your anchor trees:
- Healthy and alive. No dead branches overhead (these are called "widowmakers" for a reason). No peeling bark or obvious rot. A tree that's leaning ominously is not your tree.
- At least 6 inches in diameter. Bigger is safer. Young, thin trees can snap under load, especially in wind.
- Solid root system. A tree on eroded soil or a riverbank edge can uproot. Pick trees that look like they've been standing for decades.
Our camping safety and survival gear guide covers tree assessment and site selection as part of choosing a safe camp — the same principles apply to hammock anchors.
Staying Warm in a Hammock: The Cold-Weather Playbook
As mentioned above, the bottom insulation problem is the #1 hammock camping challenge. Here's how to solve it at every temperature range:
Above 70°F: Minimal insulation needed
A light sleeping bag or just a blanket on top is enough. You probably don't need an underquilt, but a thin foam pad (like a cut-down sit pad under your torso) adds comfort for cheap.
50–70°F: Light underquilt or pad required
This is where most beginners get caught. A 50°F night feels comfortable when you're active, but at 3 AM when you've been still for hours, the cold air beneath your hammock will drain heat fast. You need either:
- A lightweight underquilt (40–50°F rated), or
- A closed-cell foam pad inside the hammock (cheaper, but less comfortable and prone to shifting)
30–50°F: Proper underquilt required
This is real hammock season, and you need a real underquilt rated to 20–30°F. Your top insulation should match — a 20°F bag as a top quilt, layered clothing, and a warm hat. The Kelty Cosmic Down 20 shines in this range.
Below 30°F: Advanced technique required
Staying warm in a hammock below freezing requires a serious underquilt (0°F rated), a matching top quilt, wind-blocking tarp pitched tight to the ground, warm base layers, a hot water bottle tucked at your core, and ideally a balaclava and thick socks. This is where many hammock campers switch to a tent — and our winter camping guide covers ground-based cold weather sleeping in detail. Below 20°F, the effort-to-comfort ratio flips and a well-insulated tent with a sleeping pad becomes the better choice for most people.
Campsite Selection: Where to Hang
Hammock camping opens up sites that ground dwellers can't use, but you still need to choose wisely:
Good hammock sites:
- Forest edges and tree lines — consistent, well-spaced hardwoods are ideal. Oaks, maples, and beech are strong and stable.
- Ridgelines with tree cover — incredible views if your tarp pitches open, and the breeze keeps bugs down.
- Above uneven terrain — slopes, rock fields, and root tangles that defeat tent campers are your playground.
Bad hammock sites:
- Widowmaker zones — anywhere with dead trees or large dead branches overhead. Don't risk it, even if the trees are perfectly spaced.
- Dry washes and arroyos — a flash flood from a storm miles away can fill a dry creek bed in minutes, and you're the lowest thing in it.
- Exposed summits above treeline — no trees, high wind, and lightning risk. Wrong tool for the terrain.
Always think about water drainage too — even if you're off the ground, a downpour pooling beneath you makes for a miserable morning. For the full site-selection framework, our day hike essentials guide covers terrain reading that applies equally to choosing a hang site.
The Rest of Your Hammock Camping Kit
Beyond the sleep system, you need the same core gear as any camping trip. Here's what to round out:
Camp Chair for Hangout Time
You'll spend more waking hours outside the hammock than inside it, and a real chair beats sitting on a log or the cold ground. The SUNNYFEEL XXL Oversized Camping Chair ($69.99) is the heavy-duty pick — 500-pound capacity, padded seat, and it supports you like a recliner. For car-camping hammock trips where weight doesn't matter, this is the throne.
Price: $69.99
For a lighter, more portable option, the Coleman Cooler Quad Camping Chair ($39.99) has a built-in 4-can cooler in the armrest — genuinely useful for keeping a cold drink within reach while you watch the fire. It's the classic festival-and-campground chair for a reason.
Price: $39.99
Camp Stove for Cooking
Hammock campsites are often away from established fire rings, so a reliable stove matters. The MSR PocketRocket 2 Ultralight Backpacking Stove ($49.95) boils a liter of water in 3.5 minutes and weighs 2.6 ounces — it lives in your cook kit full-time. For hammock backpackers counting ounces, this is the standard.
Price: $49.95
For group car-camping trips, our camp stove fuel guide covers the full range of propane, butane, and isobutane options for bigger meals.
Cooler for Food and Drinks
A soft cooler is ideal for hammock camping — lighter than a hard cooler and easier to lash to a pack. The Stanley All Day Julienne Soft Cooler Bag ($100.00) keeps ice for a full day and doubles as a dry bag. For longer trips, the Coleman 316 Series Wheeled Cooler 62QT ($84.99) holds ice for days — it's heavier but the wheels make it manageable from car to campsite.
Price: $84.99–$100.00
Rain Jacket for Changing Weather
Hammock camping means you're exposed to weather more than in a tent — you'll be hanging and adjusting in whatever conditions arrive. The Outdoor Research Men's Helium Rain Jacket ($159.00) packs to fist-size, weighs 6.4 ounces, and is fully waterproof — stash it in your hammock's stuff sack and you're ready for any squall.
Price: $159.00
Bug Protection
Trees, humidity, and still air mean mosquitoes and ticks love hammock campsites as much as you do. The OFF! Clean Feel Insect Repellent ($11.99) uses 20% picaridin (DEET-free, won't melt your gear) and provides long-lasting protection. A tarp pitched low and a small fire help too, but repellent is your first line of defense.
If you camp in mosquito country, a physical barrier beats spray every time: the ENO Guardian Bug Net ($39.95) wraps your hammock in breathable SkyWeave mesh, cinches shut underneath, and keeps mosquitoes and no-see-ums out all night without a drop of repellent on your skin. The budget-friendly Wise Owl Hammock Bug Net ($27.99) fits any single or double hammock and packs to about 16 ounces — worth the weight for buggy summer trips.
Price: $11.99
For the complete bug-prevention playbook — permethrin-treated clothing, tick checks, campsite strategies — see our dedicated mosquito and tick prevention guide.
Hammock Camping Checklist: The Complete Kit
Here's your packing list, organized by priority:
Sleep System (the core five):
- Parachute nylon hammock (9–10 ft) — e.g., ENO SingleNest
- Tree-friendly suspension straps (0.75"+ wide, 10+ ft)
- Underquilt matched to expected temperature
- Sleeping bag or top quilt
- Hammock tarp (hex or asymmetric) with guy lines and stakes
Comfort:
- Inflatable pillow
- Camp chair — Coleman Quad or SUNNYFEEL XXL
Cooking:
- MSR PocketRocket 2 stove
- Pot or cook set, fuel canister, lighter, utensils
- Soft cooler for perishables
Weather Protection:
- Rain jacket
- Warm layers (base layer, mid layer, hat, gloves for cooler nights)
- Extra socks — your feet get cold first
Safety:
- Bug repellent
- Headlamp or lantern
- First aid kit — see our first aid checklist
- Water filtration — covered in our hydration guide
Common Hammock Camping Mistakes (Learn From Mine)
I've made every one of these. Save yourself the cold, wet, uncomfortable night:
Hanging too tight. The #1 beginner error. Those straps should sag at 30 degrees, not be cranked vertical. A tight hang gives you a banana-curl backache and puts dangerous tension on your gear. When in doubt, lower the hang points and add more sag.
Skipping the underquilt on a "warm" night. Fifty degrees feels balmy at dinner and freezing at 3 AM. The moving air beneath you makes it feel 10–15 degrees colder than the ambient temperature. Always bring bottom insulation for overnights below 70°F — even if you don't think you'll need it.
Using a sleeping pad that slides around. If you're using a foam or air pad inside the hammock instead of an underquilt, it will migrate all night as you shift. Solution: tuck the pad inside your sleeping bag, or use a double-bottom hammock designed to hold a pad in place. Better yet, invest in an underquilt.
Forgetting the ridgeline. A ridgeline is a cord running between your two suspension points, above the hammock. It does two things: sets a consistent hang geometry (so you don't have to re-guess the angle every time) and gives you a place to clip a headlamp, water bottle, or gear organizer. It's a $5 piece of cord that massively improves your setup.
Pitching the tarp too high in buggy weather. A tarp pitched like a flat roof looks nice but creates a wind tunnel that funnels bugs and cold air right at you. In insects-are-bad conditions, pitch the tarp low and tight to the ground on the windward side, creating a sheltered pocket.
Ignoring widowmakers. I watched a dead branch the size of my arm fall fifteen feet from a friend's hammock at 2 AM. We'd walked under it in the daylight without noticing. Always, always look up before you hang.
Not practicing before the trip. Your first hammock hang should be in your backyard or a local park, not at mile 6 of a backpacking trip in the rain. Spend an afternoon getting the angle, the diagonal lay, and the tarp pitch dialed. It takes the stress out of that first real camp.
Hammock Camping vs Tent Camping: Quick Decision Guide
Still on the fence? Here's the 30-second version:
Choose hammock camping if: you camp solo (or as a pair in separate hammocks), you backpack in treed terrain, you value light weight and fast setup, you sleep on your back or side, and you're camping in temperatures above freezing.
Choose tent camping if: you camp with a family or group, you car camp and want space, you camp in cold weather (below 30°F regularly), you camp above treeline or in open terrain, or you want one shelter that does everything.
For a full side-by-side, our sleeping pad vs air mattress guide covers ground-based comfort, and the tent size guide helps you pick the right tent if you go that route. Many experienced campers carry both — a hammock for fair-weather solo trips, a tent for family and winter.
The Bottom Line
Hammock camping is one of those things that sounds like a novelty until you try it properly. Once you've slept in a correctly-hung hammock with proper bottom insulation on a mild night in the trees, it's hard to go back to the ground. The weight savings, the site flexibility, the comfort, the view — it all adds up to a genuinely better way to sleep outside, for the right trip.
Start with the basics: a solid parachute nylon hammock like the ENO SingleNest, tree-friendly straps, an underquilt matched to your climate, and a tarp. Practice at home first. Get the 30-degree angle and the diagonal lay dialed. Then take it to the woods and discover why hammock campers are some of the most enthusiastic converts in the outdoor world.
Sleep suspended. The trees are waiting.
<!-- AFFILIATE_DISCLOSURE -->Hammocks, straps, and camp-comfort extras are ranked in our Best Hammocks & Relaxation guide.
Hammock Camping FAQ
The beginner questions that decide whether your first night hanging is comfortable or miserable.
What gear do I actually need to sleep in a hammock?
Five components, and skipping any one of them shows up as a bad night. You need the hammock itself, a tree-friendly suspension system, bottom insulation (an underquilt), a tarp, and a pillow or comfort extra. The suspension and insulation are where beginners try to save money, and both are exactly where the money matters.
Why do I freeze in a hammock even with a good sleeping bag?
It is compression, not insulation quality. On the ground, your sleeping pad insulates you from cold earth. In a hammock, the air beneath you is cold and moving, and your back compresses the insulation in your sleeping bag against the fabric until it provides almost nothing. You can have a 0°F bag and still freeze at 50°F. The fix is an underquilt that hangs below the hammock, outside the fabric, where the insulation stays lofted and traps warm air against your back. The OneTigris Hideout full-length underquilt at $39.98 is rated to about 20°F and clips on in minutes with shock cord.
How cold can I comfortably hammock camp?
The temperature ranges tell the story. Above 70°F you need minimal insulation — a light bag or blanket on top is enough. From 50-70°F you need a light underquilt or a closed-cell foam pad, because a 50°F night feels fine at dinner and freezing at 3 AM. From 30-50°F you need a proper 20-30°F underquilt and matching top insulation — a good pairing is the Kelty Cosmic Down 20 sleeping bag used as a top quilt. Below 30°F is advanced territory: a 0°F underquilt, a tarp pitched tight to the ground, base layers, a balaclava, and a hot water bottle at your core. Below about 20°F, most people switch to a tent.
What is the best budget hammock setup?
Do not overspend on the hammock — the technology is mature and parachute nylon is parachute nylon. The Wise Owl Outfitters Camping Hammock at $43.91 includes tree straps and carabiners in the box and is rated to 500 pounds, which shrugs off kids and gear. The ENO SingleNest at $54.95 is the benchmark option with a decade of trail-tested reputation and a 400-pound capacity. Spend the money you save on insulation and suspension instead, since those are what actually determine comfort.
What angle should I hang my hammock at?
Roughly 30 degrees of sag — and beginners almost always hang too tight. A taut hang curves your body into a banana shape, which produces a backache by morning and puts unnecessary tension on straps and trees. When in doubt, lower your hang points and add sag. Pair that with a diagonal lay and you will sleep flatter than the fabric suggests is possible.
How wide do tree straps need to be?
At least 0.75 inches. Thin cord or rope cuts into bark and kills trees, and most public lands ban narrow suspension outright. The ENO Atlas suspension system at $29.95 uses 9-foot straps with 15 adjustment loops and a 400-pound rating, which lets you tune the hang angle without retying knots.
Do I need a tarp if the forecast is clear?
Yes. Even on a cloudless night, dew and condensation will soak you by morning, and a 3 AM shower is a common hammock-camping rite of passage. In buggy conditions, pitch the tarp low and tight to the ground on the windward side rather than like a flat roof — a flat roof creates a wind tunnel that funnels insects and cold air straight at you. Bug nets like the ENO Guardian bug net or the Wise Owl hammock bug net handle the rest in season.
What about sleeping position and comfort extras?
A pillow makes a disproportionate difference, and inflatables pack to nothing: the TREKOLOGY ALUFT 2.0 at $16.99 or the Sea to Summit Aeros Premium if you want something plusher. For camp time off the hammock, the SUNNYFEEL XXL camping chair is rated to 500 pounds, and the Coleman Cooler Quad chair keeps four cans cold in the armrest if you would rather not make a cooler run.
What are the most common beginner mistakes?
Hanging too tight, skipping the underquilt on a "warm" night, using a pad that migrates all night, forgetting a ridgeline to set consistent geometry, pitching the tarp too high in bug season, ignoring dead branches overhead, and — most avoidable of all — not practicing the hang in a backyard before the real trip. A single afternoon dialing in your angle, diagonal lay, and tarp pitch removes almost all of the risk from your first night out.