Camping Water Filtration & Hydration: The Complete Guide (2026)
Everything you need to know about camping water filtration, hydration systems, and how much water to bring. Sawyer Squeeze, CamelBak, Owala — our tested picks for clean water on the trail.
You know that sinking feeling when you're three miles from the trailhead and realize you only packed one water bottle for a six-hour hike? Or when the "crystal clear" stream turns out to be downstream from a beaver dam? I've been there, and I've learned the hard way: water planning makes or breaks a camping trip.
This guide covers everything — filtration systems, hydration strategies, how much water to actually bring, and the gear we trust. Whether you're car camping with a cooler full of drinks or filtering from alpine streams on a multi-day trek, clean water is non-negotiable.
Why Water Planning Matters More Than Any Other Gear Decision
Here's the blunt truth: you can survive a night without a sleeping pad. You can eat cold beans if your stove breaks. But without clean water, you're in trouble within hours — especially in summer heat or at altitude.
Dehydration headaches, muscle cramps, and brain fog don't just ruin your trip — they increase your risk of navigation mistakes, falls, and heat illness. And waterborne pathogens (giardia, cryptosporidium, E. coli) can turn a great weekend into a week of misery.
The good news? Modern filtration gear makes safe water ridiculously easy. A Sawyer Squeeze Water Filtration System ($34.95) weighs 3 ounces and filters 100,000 gallons — that's a lifetime of backpacking trips in something smaller than a soda can.
How Much Water Should You Bring? The Numbers That Actually Matter
Forget the generic "two liters per day" advice. Real water needs depend on temperature, exertion, and altitude. Here's what I've found works in practice:
- Car camping (base camp): 1 gallon (3.8L) per person per day for drinking, cooking, and basic hygiene. Bring it all — you have the car.
- Day hiking (moderate, 60-75°F): 1 liter per 2 hours of hiking. Scale up for heat.
- Day hiking (hot, 85°F+): 1 liter per hour. Seriously — don't skimp.
- Backpacking (filtering from sources): Carry 1-2 liters at a time, filter as you go. Know where your next water source is before you leave the last one.
- Desert or dry terrain: Triple your carry capacity and know your water cache points. No streams means no backup.
Pro tip: Pre-hydrate before you start hiking. Drinking 16-20 ounces of water 30 minutes before hitting the trail gives you a hydration head start that sipping on the move can't match.
The Three Types of Camp Water Filtration (And When to Use Each)
1. Squeeze Filters — Best All-Rounder for Backpacking
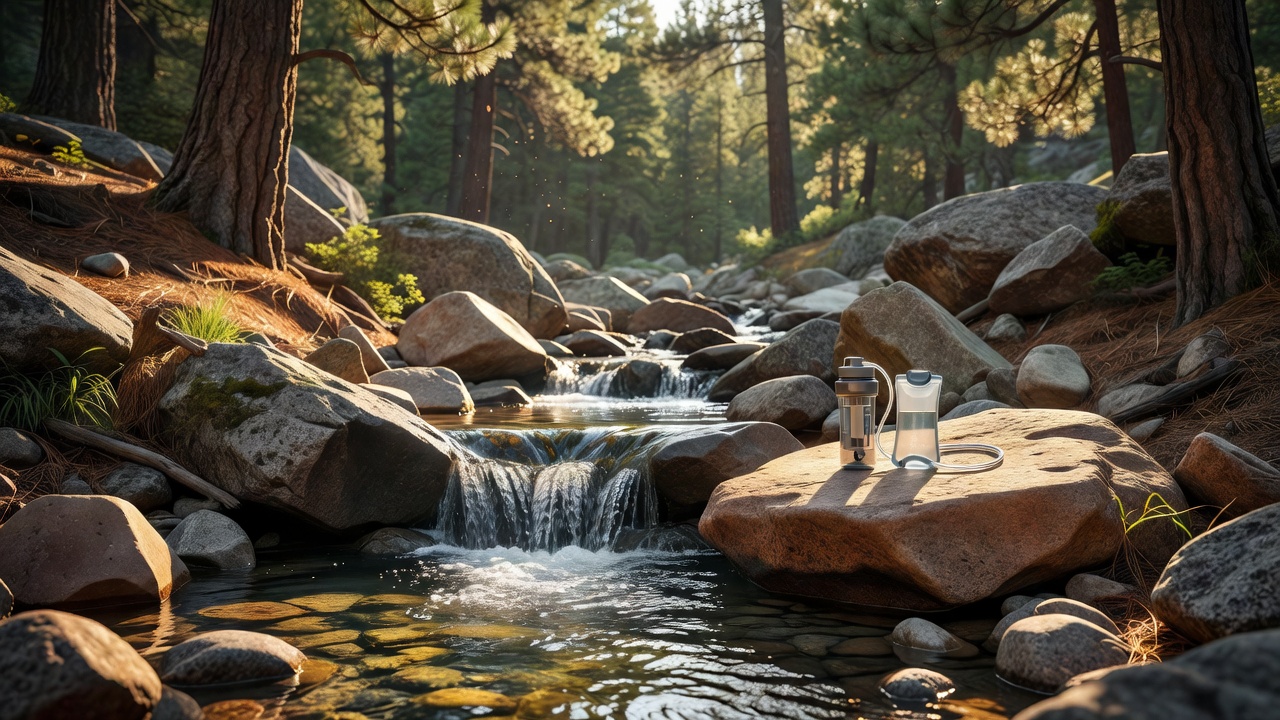
Squeeze filters attach to a soft water bladder. You fill the "dirty" bag from a stream, screw on the filter, and squeeze clean water into your bottle. Fast, simple, and dirt-cheap per gallon.
The Sawyer Squeeze is the benchmark for a reason. It removes 99.99999% of bacteria and 99.9999% of protozoa — the stuff that causes giardia and crypto. The 0.1-micron hollow fiber membrane is the same tech used in kidney dialysis. At $34.95 and 3 ounces, it's the single best ounces-to-safety ratio in your pack.
Best for: Backpacking, day hiking near water sources, emergency prep. Pair it with a CamelBak Crux 3L Reservoir ($34.95) and you've got a complete hydration system — filter into the reservoir, sip through the hose while you hike.
2. Pump Filters — Best for Groups
Pump filters use a hand pump to force water through a ceramic or fiber cartridge. Slower per liter than squeeze filters, but you can fill multiple bottles from one setup without squeezing. Great for base camp situations where you're filtering for 3-4 people.
Downside: heavier (typically 11-16 oz), more moving parts to break, and the pumping motion gets old fast after a long hiking day. For solo or duo backpacking, squeeze filters win on weight. For group car camping near a lake or stream, pumps make sense.
3. Gravity Filters — The Lazy Person's Best Friend
Fill a "dirty" bag, hang it from a tree branch, and let gravity push water through the filter into a clean reservoir below. Zero effort after setup. Perfect for base camp when you need to filter gallons for cooking, coffee, and filling everyone's bottles.
Downside: slower (10-20 minutes for 4 liters), bulkier, and you need something to hang it from. Not great for quick refills mid-hike — this is a camp chore, not a trail stop.
Chemical Treatment (Backup Method)
Iodine tablets or chlorine dioxide drops (Aquamira) are the ultralight backup. They kill viruses (which most filters miss), weigh nothing, and take up zero pack space. The trade-off: 30-minute to 4-hour wait times depending on water temperature and turbidity, and a slight chemical taste. I always carry a few tablets as backup even when I'm filtering — they've saved me twice when my filter froze overnight (frozen hollow-fiber membranes crack and become useless).
Hydration Bottles vs. Reservoirs: The Great Debate
Water Bottles: The Simple Choice
An insulated bottle like the Owala FreeSip Sway ($35.99) keeps water cold for 24 hours. The two-way spout — sip through the built-in straw or tilt and chug — sounds gimmicky but genuinely works. On a 90°F hiking day, pulling ice-cold water from an insulated bottle is a morale boost that a warm plastic reservoir can't match.
For a lighter, cheaper option, the Owala FreeSip Insulated Bottle ($21.64) drops some insulation for less weight in your pack. Same two-way spout design, same BPA-free build, lower price.
Bottle pros: Easy to track how much you've drunk, easy to clean, doubles as a hot water bottle in your sleeping bag on cold nights. Cons: Requires stopping to drink, takes up external pack pocket space.
Hydration Reservoirs: Drink While You Move
The CamelBak Crux 3L delivers 20% more water per sip than previous CamelBak designs, and the Quick Link system lets you disconnect the hose without emptying the reservoir. For long hikes where you need to keep moving, sipping through a hose is unbeatable.
Reservoir pros: Sip on the move, higher capacity (2-3L vs 1L bottles), hose routes over your shoulder for easy access. Cons: Harder to clean (buy a reservoir cleaning kit), harder to track consumption, hose can freeze in winter, and if it leaks inside your pack... well, everything gets wet.
The Hybrid Strategy (What I Actually Use)
For day hikes: one insulated Owala bottle with cold water + one smartwater bottle that doubles as a Sawyer Squeeze dirty-water container. For backpacking: CamelBak reservoir for on-the-move sipping + Sawyer Squeeze for filtering at water sources + a collapsible 2L dirty-water bag. Best of both worlds.
Finding Water Sources: Where to Look (And What to Avoid)
In most US national forests and mountain ranges, water is abundant if you know where to look:
- Topographic map trick: Blue lines are streams. Contour lines that form a "V" pointing uphill mark a drainage — there's often water at the bottom even if the map doesn't show a blue line.
- Game trails converging: Animals know where the water is. Multiple game trails heading downhill in the same direction usually lead to a water source.
- Green vegetation in drainages: Willows, cottonwoods, and lush green grass in an otherwise dry landscape scream "water near the surface."
- Seasonal caution: That gushing stream on the map in June may be a dry creek bed by August. Check recent trip reports (AllTrails comments, Gaia GPS tracks) for water availability before you go.
What to avoid: Water downstream from popular campsites (human waste runoff), stagnant pools with algae scum, water near mining tailings (heavy metal contamination that filters can't remove), and agricultural runoff areas. When in doubt, hike upstream — the water gets cleaner the closer you get to the source.
Boiling as Backup: Why You Need a Stove Anyway
You should always carry a way to boil water, even if you primarily filter. A frozen filter, a dropped-and-cracked filter, or surprisingly silty water that clogs your cartridge — any of these leaves you with no way to make water safe.
A Etekcity Ultralight Backpacking Stove ($13.99) weighs 4.5 ounces and boils a liter of water in about 3.5 minutes. At that weight and price, there's no excuse not to have one. Bring the water to a rolling boil for at least 1 minute (3 minutes above 6,500 feet elevation). Boiling kills bacteria, viruses, and protozoa — it's the nuclear option when everything else fails.
Bonus: the same stove makes coffee in the morning and hot dinner at night. A stove that only serves as a "backup water purifier" is a saddle on a pig — give it real jobs and it earns its pack weight.
Common Water Mistakes I've Made (Learn From Them)
"The stream looks clean": Giardia cysts are invisible. That sparkling alpine stream could be 50 feet downstream from a dead marmot. Always treat — no exceptions.
"I'll just filter when I get thirsty": Filtering at the water source is free. Filtering when you're already dehydrated means you're hiking the next hour in a deficit. Top off at every reliable water source, even if you're only half-empty.
"One liter is plenty for this section": The trail is always longer than the map suggests. The ridge is always steeper than the elevation profile looks. Carry more water than you think you need until you know the route cold.
"My filter is brand new, I don't need to test it": Backflush a new Sawyer at home before your trip. Manufacturing residue can slow the initial flow rate. A 10-second backflush with clean water the night before solves this.
"I'll remember where the last water source is": Mark water sources on your GPS or map as you pass them. When you're dehydrated and your brain isn't working at full capacity, you do NOT want to be guessing which side-canyon had the stream.
Final Verdict: The Water Kit I'd Pack for Any Trip
For car camping: bring a 5-gallon water jug plus insulated Owala bottles for each person. No filtration needed — just bring it.
For day hiking (near water sources): Sawyer Squeeze + Owala FreeSip Sway + a few iodine tablets for backup. Total weight: ~1.5 pounds.
For backpacking: CamelBak Crux 3L for on-the-move sipping + Sawyer Squeeze for filtering + Etekcity Stove for boiling backup. Total system weight under 2 pounds, covers every water scenario.
For more gear guides, check out our camp kitchen setup guide (stoves, cookware, and meal planning) and our budget camping gear roundup for affordable alternatives.
<!-- AFFILIATE_DISCLOSURE -->TrailMapz is reader-supported. When you buy through links on our site, we may earn an affiliate commission at no extra cost to you. This doesn't influence our recommendations — we only recommend gear we'd actually use ourselves.