Camp Kitchen Setup Guide: Essential Cooking Gear for First-Time Campers (2026)
Build your first camp kitchen without overpacking — our minimalist guide covers stoves, cookware, coolers, and hydration with real gear picks from Stanley, Coleman, GSI, and more. Start cooking outdoors this weekend.
You pull into the campsite, stomach growling after the drive. You unload a chaotic pile of pots, a cooler that's already leaking, and a stove you're not sure how to light. Forty minutes later, you're eating cold sandwiches by headlamp while the family glares at you.
I've been that person. Every camper has. The camp kitchen is the most intimidating part of trip planning — it's also the most rewarding when you get it right. A good camp meal after a long hike tastes better than any restaurant dinner.
This guide covers exactly what you need for a functional camp kitchen, nothing more. No gimmicky gadgets, no $400 titanium cooksets. Just the gear that works.
The Camp Stove: Pick Your Fuel Type First
Your stove choice determines everything else — what pots you can use, how fast you cook, and whether you can make coffee in 30 seconds or 30 minutes.
Propane: The Car Camper's Best Friend
Propane stoves run on those green 1-pound cylinders you see at every Walmart and campground store. They're powerful (10,000 BTU is standard), dead simple to light, and the fuel is everywhere.
The Coleman Bottle Top Propane Camp Stove ($21.99) is the classic entry point. Twist it onto a propane cylinder, turn the knob, click the igniter — you're cooking. One burner, 10,000 BTU, fits in a daypack. Pair it with a 10-inch skillet and you can make pancakes, bacon, and eggs for two people with a little choreography.
Want a second fuel option? The Gas One GS-3400P Dual Fuel ($34.99) runs on both propane and butane. Butane canisters are cheaper, lighter, and work better in cold weather than you'd expect. Having both options means you never get stuck with the wrong fuel at a remote campground.
Butane: Lightweight and Cheap
Butane stoves are the sleeper hit of camp cooking. The fuel canisters cost about $3, burn clean, and the stoves themselves weigh under 4 pounds.
The Coleman Classic 1-Burner Butane Camp Stove ($29.99) comes in its own carrying case and uses piezo ignition — no matches needed. It's what I recommend for first-timers who want zero drama. Load the canister, push the lever, press the button. Done.
The Gas One Portable Butane Stove ($24.87) is nearly identical but runs about five bucks cheaper. Both have built-in wind guards and automatic safety shutoffs if the pressure gets too high.
Backpacking: Ultralight and No-Frills
If you're carrying your kitchen on your back, every ounce matters. The Etekcity Ultralight Portable Backpacking Stove ($13.99) weighs 3.3 ounces and screws directly onto an isobutane canister. It boils two cups of water in about three minutes — enough for freeze-dried meals, instant coffee, and oatmeal. At $14, it's genuinely hard to beat.
Budget Tip: A single-burner stove handles 90% of camp meals for groups of 1-3. You don't need a two-burner setup on your first trip. Master one burner first, add complexity later.
For camp stove comparisons across price points, check our best budget camp stoves guide.
Cookware: One Set, Not a Cabinet
The biggest mistake new campers make is bringing their home kitchen to the woods. You need exactly one pot, one pan, one utensil set, and a way to clean them.
The All-in-One Solution
The Stanley Adventure 9-Piece Camp Cook Set ($29.99) is the camp cookware equivalent of a Swiss Army knife. It nests a pot, pan, cutting board, spatula, ladle, and four plates/bowls into one compact bundle about the size of a cantaloupe. The pot has a vented lid for straining pasta, and everything is BPA-free. Twenty-nine bucks for a complete camp kitchen that fits in your backpack.
If you're cooking for a family or want hotel-quality camp meals, step up to the GSI Outdoors Pinnacle Camper Cookset ($159.95). This is the set professional camp chefs use — Teflon non-stick that actually works, folding handles that lock, and a stuff sack that doubles as a wash basin. It's expensive, yes, but it'll outlast five cheap sets.
What NOT to bring: Cast iron skillets on your first trip. They're heavy, need seasoning maintenance, and turn your pack into a gym workout. Cast iron is for dedicated camp chefs on their tenth trip, not first-timers figuring out which end of the stove lights.
Coolers and Food Storage: Ice Management Is Everything
A cooler isn't just a box with ice — it's your refrigerator for 48 hours. Get this wrong and you're eating warm hot dogs by Saturday afternoon.
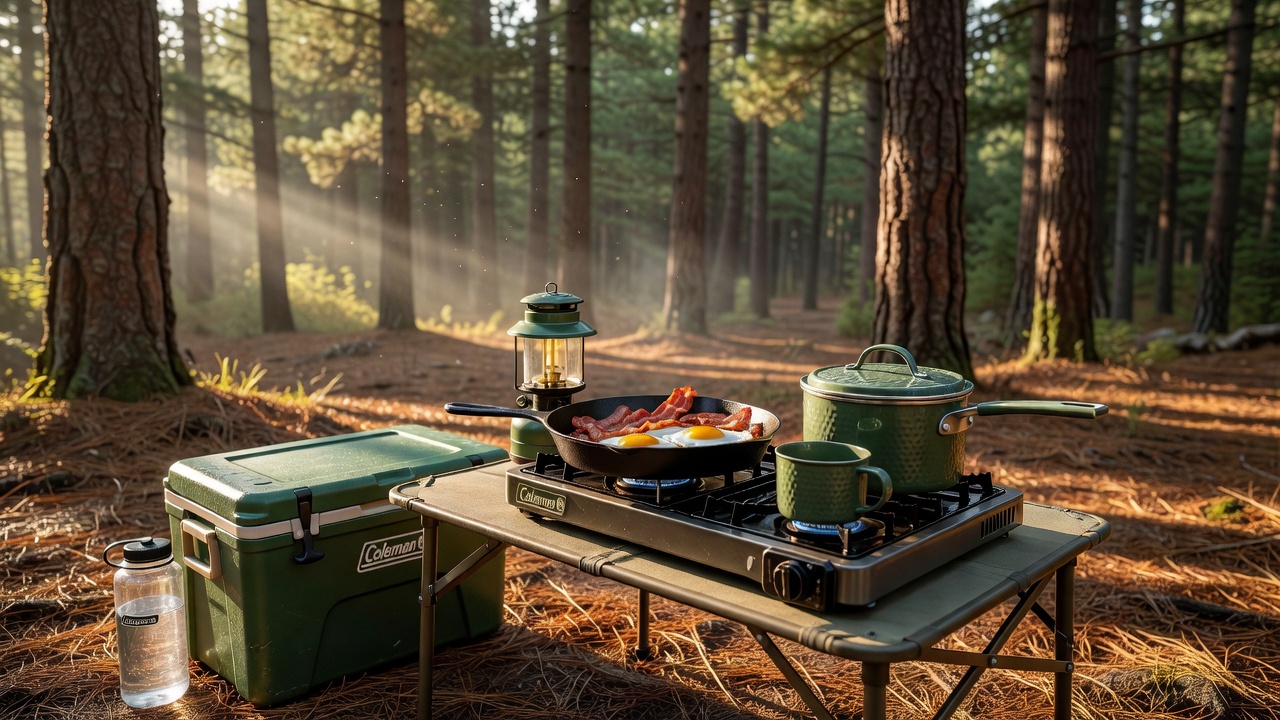
The Coleman 316 Series Wheeled Cooler ($95.44) holds 62 quarts (about 85 cans), keeps ice for 5 days in moderate weather, and has wheels — which you will thank yourself for when the campsite is 200 yards from the parking lot. The have-a-seat lid doubles as extra camp seating.
For day trips and lunches, the Stanley All Day Julienne Soft Cooler Bag ($100.00) keeps food cold for 12 hours without the bulk of a hard cooler. It looks like a lunch bag but performs like a mini fridge.
The ice trick that changes everything: Freeze water bottles solid and use them as ice packs. They keep the cooler cold AND become drinking water as they melt. No soggy food, no wasted cooler space. I've been doing this for years and it's the single best camp kitchen tip I know.
Water and Hydration: Don't Cook With Creek Water
Hydration is doubly important when you're cooking outdoors — you need water for drinking, coffee, cooking, and cleaning. Most campground water spigots are fine, but if you're dispersed camping or the water tastes metallic, bring your own.
The Nalgene 32 oz Narrow Mouth ($15.09) is the gold standard for a reason. It's indestructible, graduated markings make measuring easy, and the narrow mouth pours cleanly into pots without spilling. Bring two: one for drinking, one for cooking water.
For sipping while you cook, the Owala FreeSip Sway ($35.99) keeps water cold for 24 hours and has both a straw and a wide-mouth spout. It's the bottle you reach for when you're standing over a hot stove in July and need a drink that's actually cold.
Fire and Ignition: Light It the First Time
Camp stoves have built-in igniters, but igniters fail — especially when it's windy, raining, or below freezing. Always carry a backup.
The Flame Bird Electric Arc Lighter ($6.29 for a 2-pack) uses a plasma arc instead of a flame, so wind can't blow it out. The flexible neck reaches into stove burners without singeing your fingers, and it recharges via USB. At three bucks each, toss one in your cook kit and forget about it.
The One-Pot Breakfast That Never Fails
This recipe has saved more camping trips than I can count. It uses one pan, takes 15 minutes, and makes everyone happy.
Camp Scramble (serves 2-3)
Ingredients: 6 eggs, 1 bag frozen hash browns, pre-cooked sausage links, shredded cheese, salt, pepper, cooking oil.
- Heat your skillet over medium flame with a tablespoon of oil.
- Dump in the hash browns. Spread them flat and don't touch them for 4 minutes. You want a golden crust.
- Flip the hash browns (they'll break apart — that's fine). Push to one side of the pan.
- Crack eggs into the other side. Scramble with your spatula until just set.
- Toss in sliced sausage links and a handful of cheese. Stir everything together.
- Salt, pepper, serve directly from the pan. No plates needed if you're going full camp mode.
The whole thing costs about $8 and tastes like a diner breakfast. Add hot sauce and nobody will miss the kitchen.
Common Camp Kitchen Mistakes (Learn From Mine)
Bringing too many pots. You know how many pots I used on my first camping trip? One. The other three just got dirty and took up space. Start with one pot and add only when you have a specific meal that requires a second.
Forgetting a wash system. You need three things: biodegradable soap (Dr. Bronner's is the standard), a scrub sponge, and a collapsible basin or one of your pots filled with water. Wash immediately after eating — dried egg is a nightmare to scrub off at 7 AM.
Cooking at dusk without a headlamp. The best camp meals happen as the sun sets, which means you're plating in the dark. Bring a headlamp. The camp-lighting guide linked below covers this in detail.
Not prepping at home. Chop vegetables, pre-mix spice blends, and crack eggs into a sealed container before you leave. Campsite prep surfaces are usually a cooler lid or a flat rock — not where you want to be dicing onions in the wind.
Underestimating the wind. Even a 10 mph breeze knocks out stove flames and doubles cooking time. Position your stove behind your car, a large rock, or set up a folding windscreen. The Coleman Pack-Away 4-in-1 Folding Table ($59.99) gives you a stable prep surface and a partial wind block.
What About the Fancy Stuff?
You'll see camp chefs on YouTube with Dutch ovens, smoking guns, and portable pizza ovens. Those are fun. They're also heavy, expensive, and completely unnecessary for your first five trips.
Start with a stove, a cookset, a cooler, and a water bottle. Master those. Then if you're still excited about camp cooking, add one specialty item per season — a cast iron skillet for year two, a campfire grill grate for year three.
The BioLite CampStove 2+ ($199.95) is the enthusiast-grade upgrade — it burns twigs and pinecones instead of fuel canisters AND charges your phone via USB. It's brilliant, but it's a second-stove purchase, not a first one.
Packing Checklist: Grab and Go
Before each trip, run through this list in your head:
- Stove + fuel (propane cylinder or butane canister)
- Backup lighter (Flame Bird arc lighter or butane lighter)
- Cookset (Stanley 9-piece or GSI Pinnacle)
- Cooler with frozen water bottles as ice
- Biodegradable soap + scrub sponge
- Two Nalgene bottles (drinking + cooking)
- Spatula, tongs, can opener (if not in your cookset)
- Trash bags (pack it out — always)
- Paper towels + zip-lock bags for leftovers
- Headlamp for after-dark cooking
Ten items. If your camp kitchen bin has more than this, you're overpacking.
More Camp Kitchen Resources
If you're diving deeper into outdoor cooking, these articles cover the next steps:
- Best Budget Camp Stoves for Car Camping — Side-by-side comparison of butane vs propane stoves under $40
- Best Camp Stove for Car Camping 2026 — Our top overall picks with detailed use-case breakdowns
- Camp Lighting Guide: Lanterns & Headlamps — Because cooking in the dark is miserable
- Winter Camping Beginners Guide — Cold-weather stove tips and fuel management
A camp kitchen that works doesn't need to be expensive or complicated. One stove, one cookset, one cooler, one water bottle, and a backup lighter — that's it. Master those five items and every camp meal becomes a highlight of the trip instead of a source of stress.
Start simple. Cook often. The gear follows the skills, not the other way around.
Happy cooking from the TrailMapz team.
TrailMapz is reader-supported. When you buy through links on our site, we may earn an affiliate commission at no additional cost to you. All prices and ratings are accurate as of June 2026.