Snowshoeing for Beginners: What to Wear & Bring
Snowshoe sizing by weight, what to wear layer by layer, and a real packing list for a first snowshoe trip — plus trail rules that keep you off ski tracks.
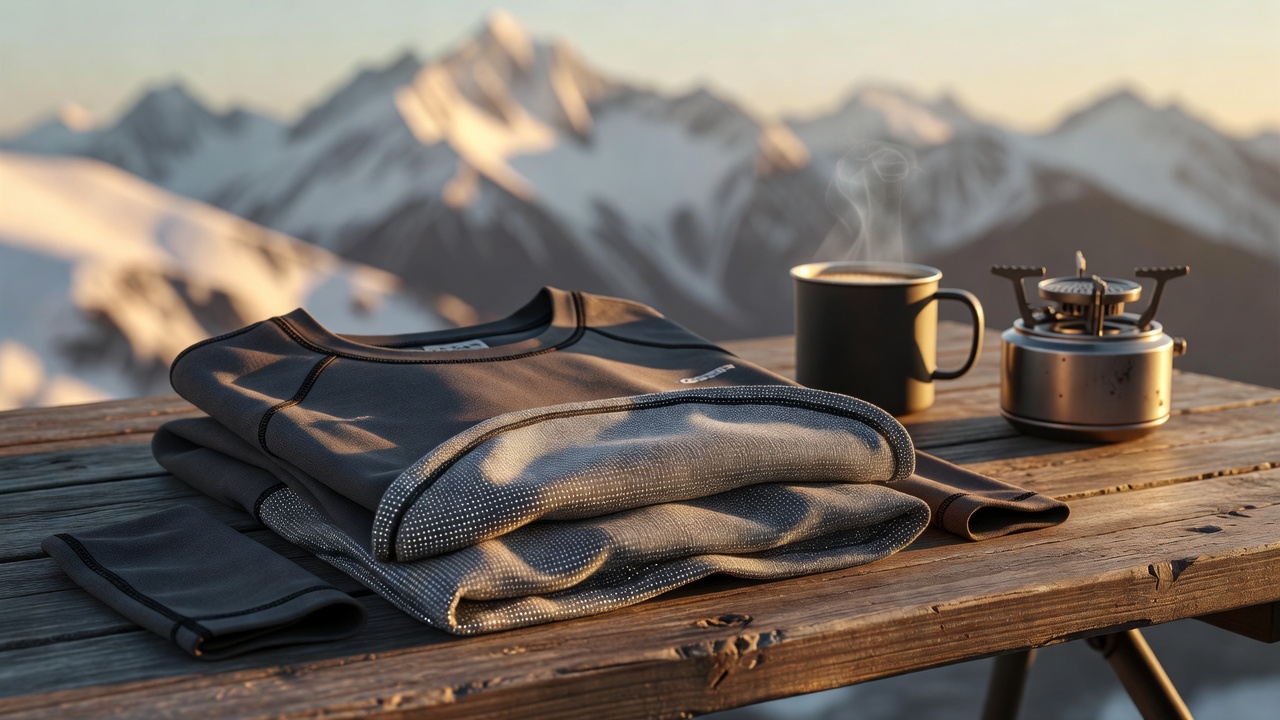 Columbia Men's Midweight Stretch Omni-Heat Base Layer Top — Thermal-Reflective Crew$49.99
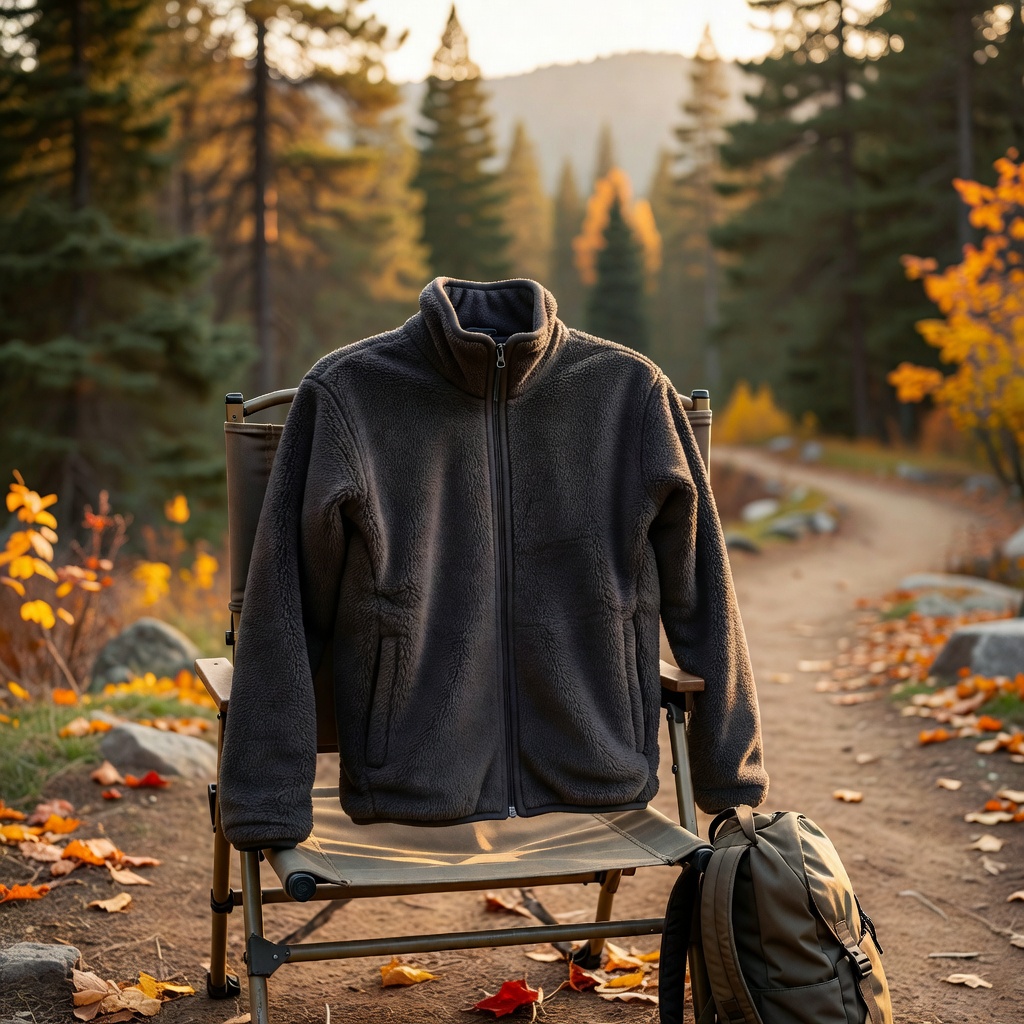 Columbia Men's Steens Mountain 2.0 Full Zip Fleece Jacket$34.99
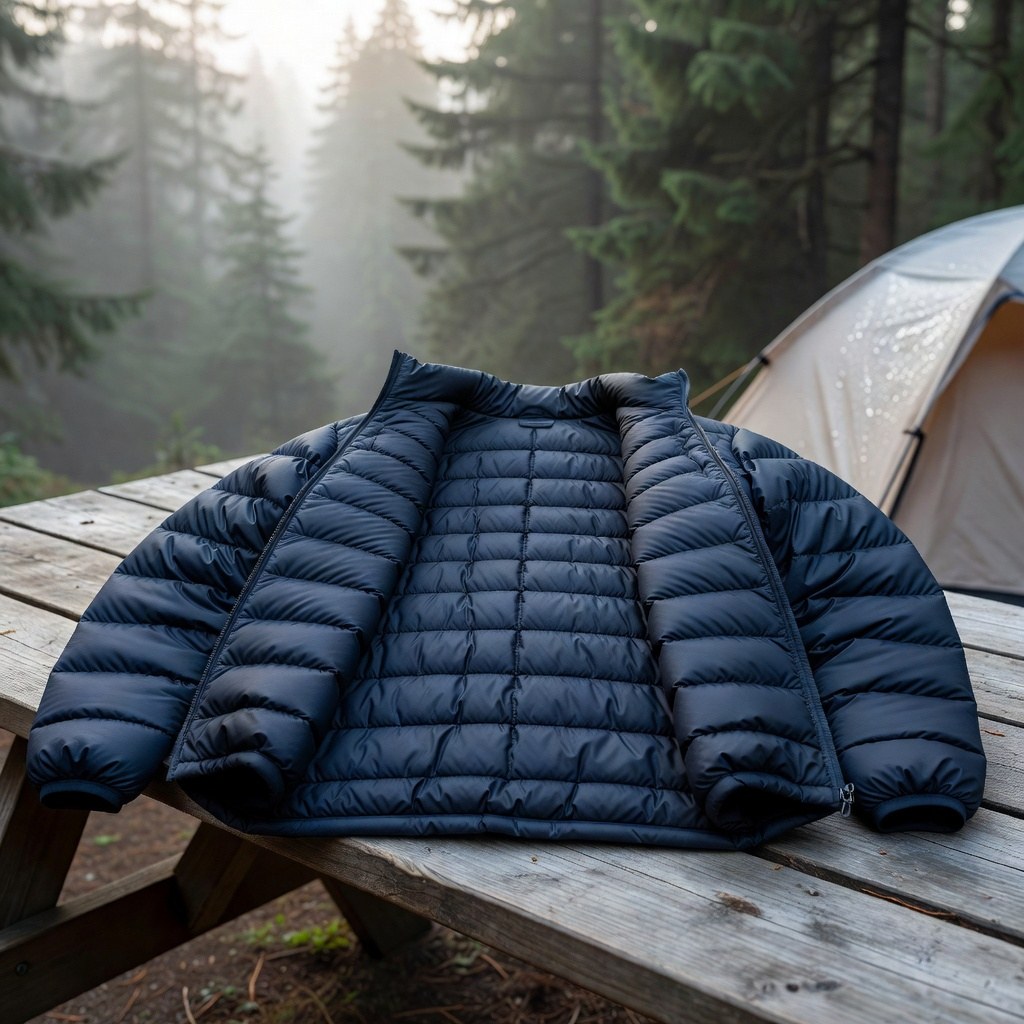 Columbia Men's Powder Lite II Insulated Jacket$94.91
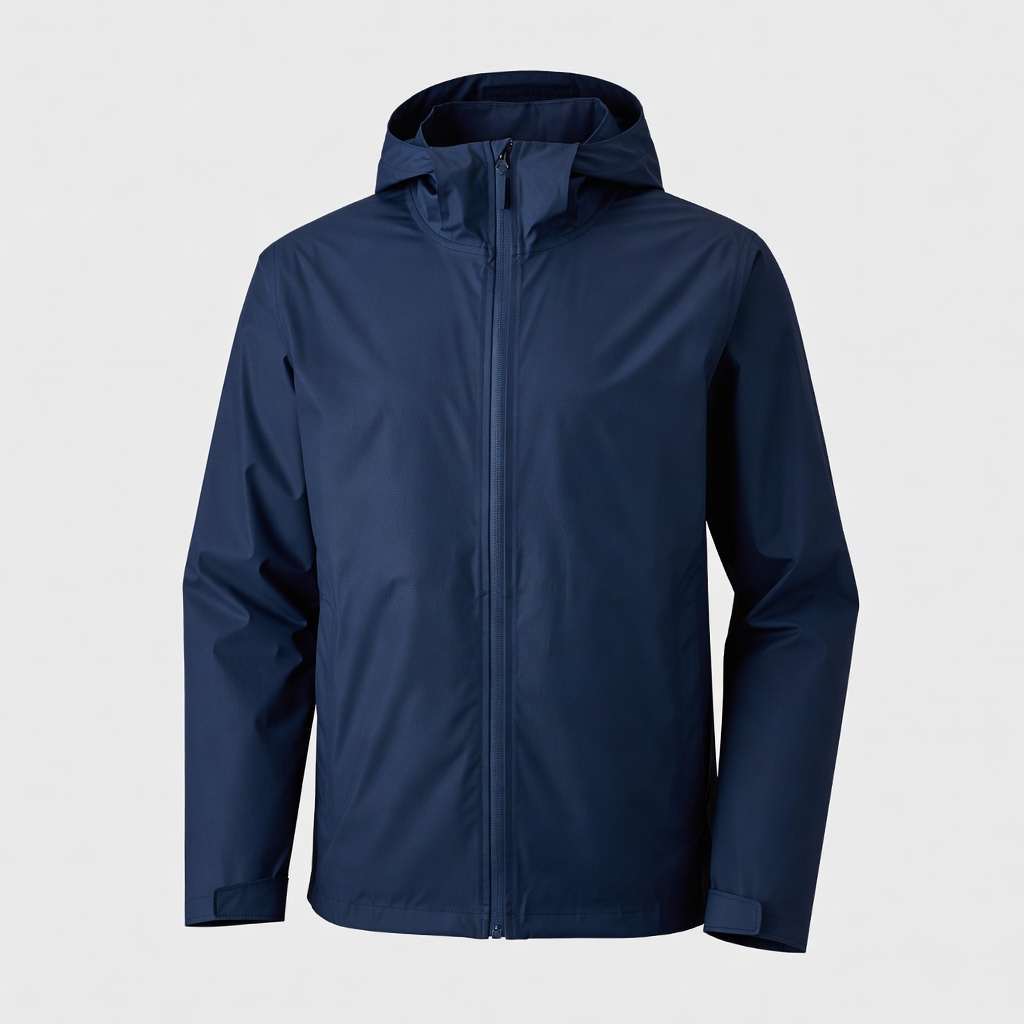 Columbia Men's Watertight II Rain Jacket$60.00
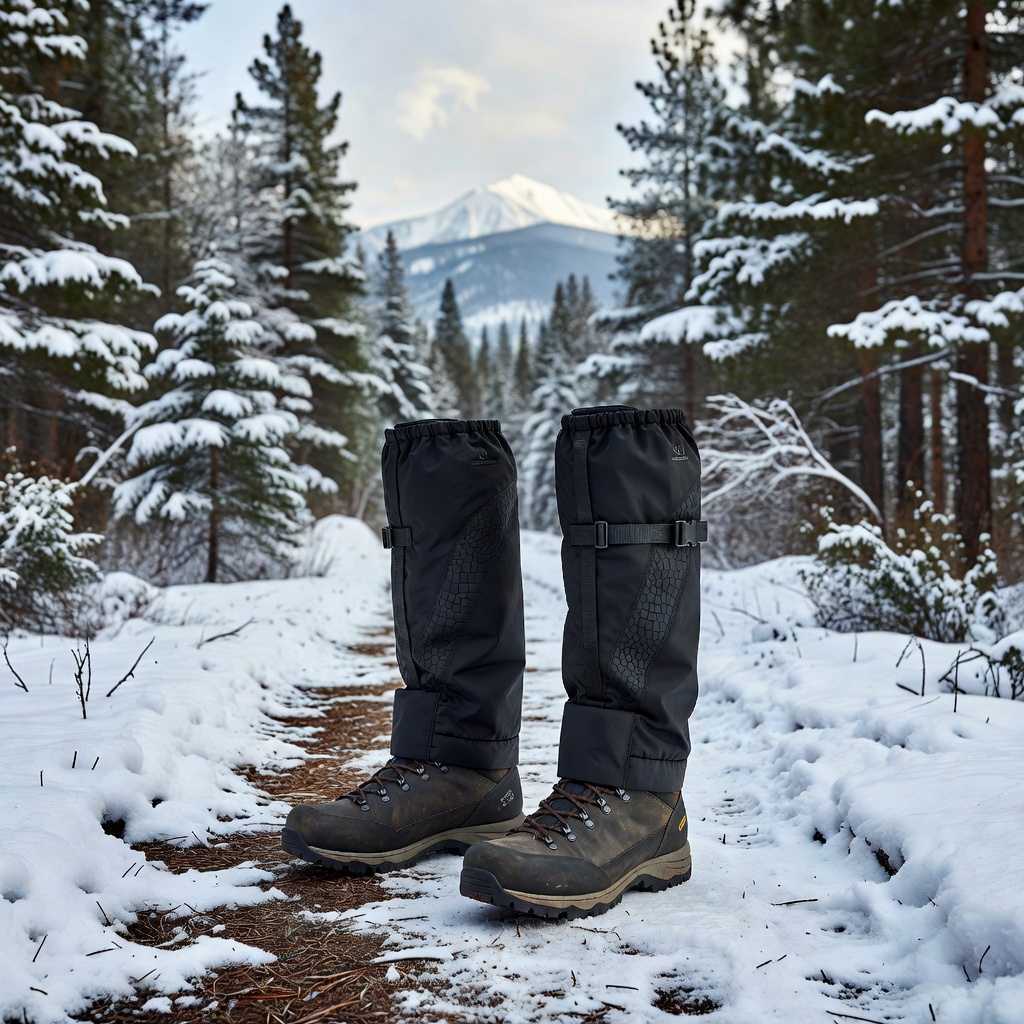 Outdoor Research Men's Crocodile Gaiters$59.00
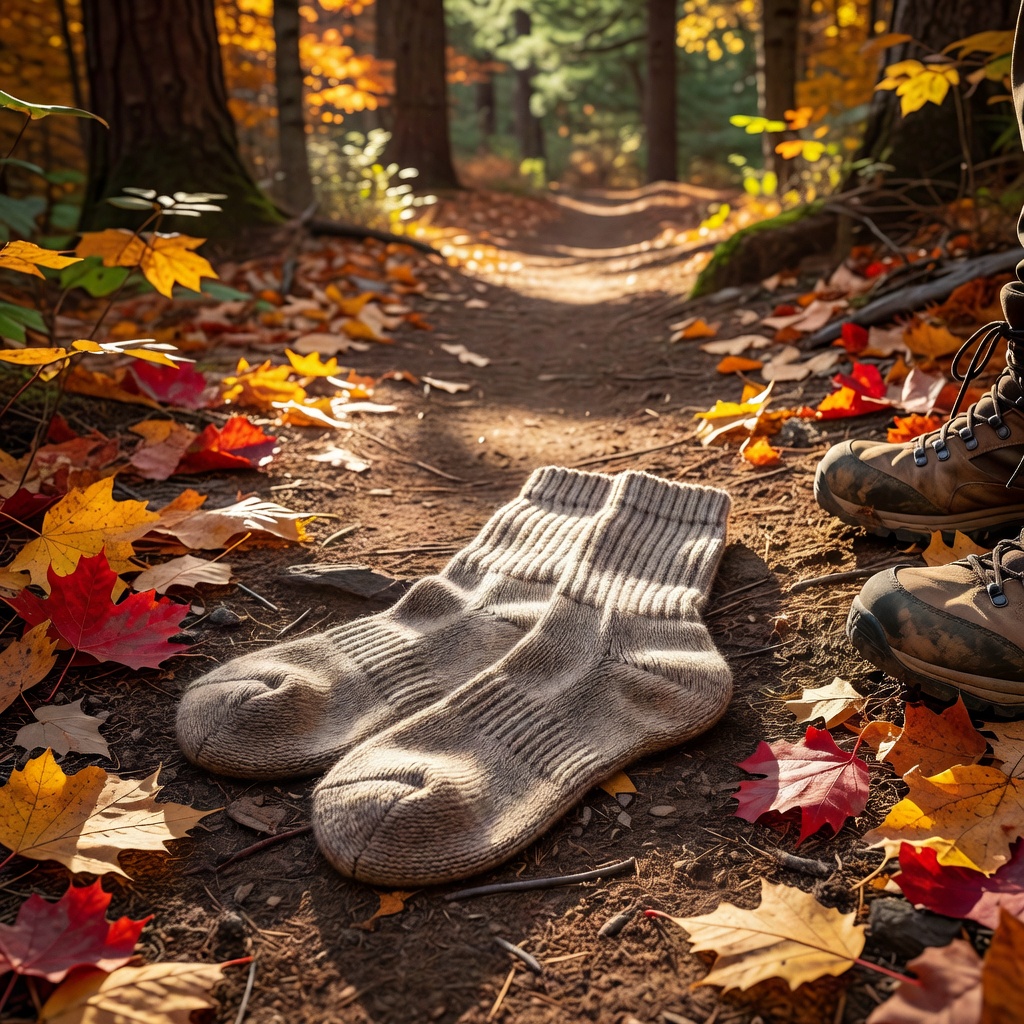 Darn Tough Vermont Men's Hiker Midweight Micro Crew Sock (Style 1466)$27.95
In this article · 15 sections
- What Snowshoeing Actually Is (and What It Isn't)
- The Short Answer: What to Wear and What to Bring
- What Size Snowshoes Do You Need?
- How to Choose Snowshoes: The Four Things That Actually Matter
- What to Wear Snowshoeing, Layer by Layer
- Snowshoeing Boots and Shoes: What Works and What Doesn't
- How to Put Snowshoes On and Walk in the First 15 Minutes
- What to Bring: The Snowshoeing Packing List
- Snowshoeing With Kids
- Snowshoeing With Dogs
- Finding Snowshoe Trails Near You
- Snowshoe Trail Etiquette and Safety
- Snowshoeing, Question by Question: The Answer Key
- Snowshoeing FAQ
- The Bottom Line
Snowshoeing is the cheapest way into a winter outdoors: no lift ticket, no lesson, no special boots, and a used pair costs less than one day of skiing. It is also the winter activity that fits a family weekend best — you drive to a trailhead, walk for two hours, and you are back in the car before anyone's hands go numb.
But the first trip goes wrong in predictable ways. People buy snowshoes sized for their body weight and forget the pack. They wear the hiking boots that fit the binding strap but soak through in twenty minutes. They walk straight down the middle of a groomed cross-country ski track and get a well-earned glare. And they start climbing at a pace that has them sweating through their base layer at 20°F, which is the fastest route to being cold an hour later.
This guide fixes those four things: how snowshoes actually work, how to size them by total load, what to wear from the skin out, what to carry, where to walk, and what to do with kids and dogs. It is written for a first or second trip, not for alpine objectives.
What Snowshoeing Actually Is (and What It Isn't)
A snowshoe is a flotation platform. Your boot presses into the binding, the frame spreads your weight across a much larger area than a boot sole, and you stay on top of the snow instead of punching through it. That is the whole mechanism — there is no glide, no edge, no waxing. If you can walk, you can snowshoe; the skill is in pacing and in reading the snow, not in technique.
What it is not:
- Not a substitute for a trail. On deep unconsolidated powder you are breaking trail with a 2-pound platform on each foot, and a mile can take an hour. Most beginners do far better on packed, established routes.
- Not traction on ice. The crampon teeth under a snowshoe bite snow, not blue ice. Steep icy sections need actual traction devices (microspikes or crampons) or a different route.
- Not avalanche-safe by default. A snowshoe lets you get onto a slope; it does nothing to keep that slope from sliding. More on this in the safety section, because it is the one place where beginners get into real trouble.
- Not expensive. A basic adult pair runs $70–$180 new and much less used. That is the entire equipment cost of the sport unless you also need boots.
The Short Answer: What to Wear and What to Bring
If you are leaving in an hour and want the short version:
- Feet: waterproof, insulated boots you already own — hiking boots with a waterproof membrane work if the snow is packed; insulated winter boots are better in powder. Wool socks, one pair, not two.
- Legs: a synthetic or wool base layer under soft-shell or nylon pants. Add gaiters if the snow is deeper than mid-calf or wet.
- Torso: a wicking base layer, a light fleece or insulated midlayer, and a shell in the pack. Start the walk slightly cold on purpose — you will be warm in ten minutes.
- Hands and head: thin liner gloves plus insulated gloves or mittens, a beanie, and a neck gaiter. These are the two places people get miserable first.
- Pack: 10–20 liters with water in an insulated bottle, snacks, a headlamp, a small first-aid kit, hand warmers, and a sit pad or square of foam.
- Poles: useful, not required. If you bring trekking poles, swap the baskets for snow baskets or they will sink.
Everything below is the reasoning behind that list, plus the sizing chart, the trail-finding part, and the answer key for the exact questions people type.
What Size Snowshoes Do You Need?
Size by total load — your body weight plus everything you are carrying — and by the snow you expect. Every manufacturer publishes its own chart, and the charts differ, so read the one for the model you are buying. The bands below are the conventional trail/backcountry ranges that MSR publishes for its Evo and Revo lines, which are typical of the category:
| Snowshoe size | Typical load range | Best for |
|---|---|---|
| 19–21 inch (youth/small) | 40–120 lb total | Kids from about age 5, small adults on packed trails |
| 22 inch | up to ~180 lb | Packed trails, day hikes, adults under 180 lb with a light pack |
| 25 inch | ~120–220 lb | The default adult size: packed trails plus moderate powder |
| 30 inch | ~150–280 lb | Deep powder, heavier packs, breaking trail |
| 30 inch + flotation tails | ~180–300+ lb | Backpacking with a winter overnight load |
Three rules that matter more than the numbers:
- Add your pack. A 180-lb adult carrying a 35-lb winter pack is a 215-lb load and belongs on a 25 or 30, not a 22. Winter day packs are heavier than summer ones because of layers, water, and safety gear.
- Add flotation for powder. If you are breaking trail in fresh snow, go one size up from your packed-trail size or buy the model that accepts clip-on tails. Tails are the cheapest way to convert a trail snowshoe into a powder snowshoe.
- Kids get sized by weight, not age. Youth models are sold in weight bands — roughly under 50 lb, 40–90 lb, and 80–150 lb — because a tall 8-year-old and a small 8-year-old need completely different platforms. A child on oversized snowshoes trips constantly; on undersized ones they posthole and get discouraged in ten minutes.
Length also decides how you walk. A 30-inch shoe is stable in powder and clumsy on a packed, winding trail; a 22-inch shoe is nimble on packed trails and useless in a foot of fresh snow. If you only buy one pair for family day trips, 25 inch is the compromise most people should make.
How to Choose Snowshoes: The Four Things That Actually Matter
Ignore the marketing categories — "trail," "backcountry," "running" — and look at four components.
1. Frame and deck. Aluminum frames with a fabric deck (hypalon or coated nylon) are the standard: light, repairable, and stiff enough to edge on a traverse. Molded plastic or composite decks are cheaper and very durable, which makes them a good choice for kids and for borrowing by friends, at the cost of weight and a harsher ride in cold snow.
2. Binding. This is where cheap snowshoes fail. A good binding is a strap-and-ratchet or a molded heel cup with two or three straps that you can tighten with gloves on. Test it with your actual boots: a binding that only closes over a slim hiking boot will not accept a bulky insulated winter boot, and a binding with a loose heel lets your foot slide forward until your toe jams the front of the frame.
3. Rotating versus fixed pivot. Rotating bindings pivot under the ball of the foot so the tail drops away as you step — a natural walking motion, and the reason snowshoeing feels less awkward than it looks. Fixed bindings keep the shoe flatter, which some people prefer on hard packed and icy trails. There is no wrong answer; there is a wrong answer for you if you have not tried both.
4. Traction and heel lift. Underneath, steel crampon teeth along the rails and under the ball of the foot are what stop you sliding sideways on a packed slope. Backcountry models add a heel lift bar — a wire bail you flip up under your heel for long climbs, which keeps your calf from cramping on a sustained uphill. If your trips involve any real elevation, the heel lift is worth the upgrade.
Weight capacity, binding quality, and traction are the three things you cannot fix later. Buy those right and the rest is preference.
What to Wear Snowshoeing, Layer by Layer
Snowshoeing is a furnace. You are lifting a pound or two of shoe with every step, often in soft snow, often uphill. The mistake is dressing for the temperature you feel standing at the trailhead; five minutes in, that outfit is a sauna, and a soaked base layer is what makes you cold for the rest of the day.
| Layer | What it should be | Why it matters | Example from our gear list |
|---|---|---|---|
| Base layer | Merino wool or synthetic, fitted, no cotton | Moves sweat away from skin; cotton stays wet and chills you | Columbia Omni-Heat midweight crew ($49.99) |
| Midlayer | Light fleece or thin synthetic insulation | The layer you take off first, so it should pack small | Columbia Steens Mountain fleece ($34.99) |
| Insulated layer (cold days) | Synthetic insulated jacket, worn or carried | For stops, lunch, and the drive home | Columbia Powder Lite II insulated jacket ($94.91) |
| Shell | Wind/waterproof, uninsulated, in the pack | Wind is the real heat thief above treeline | Columbia Watertight II rain jacket ($60.00) |
| Legs | Base layer under soft-shell or nylon pants | Snow contact is constant; jeans are a hard no | Base layer plus any breathable outdoor pant |
| Gaiters | Knee-high, boot-compatible | Keeps snow out of the boot top on every step | Outdoor Research Crocodile gaiters ($59.00) |
| Socks | One pair merino, midweight | Two pairs cause blisters, not warmth | Darn Tough midweight micro crew ($27.95) |
| Hands | Liner glove + insulated glove or mitten | You will take gloves off for straps, snacks, phones | Carhartt waterproof insulated glove ($32.99) |
| Head | Merino beanie + neck gaiter | Half your heat loss argument, half your comfort | Smartwool merino cuffed beanie ($35.00) |
Two practical notes on this table. First, start cold: if you are warm standing in the parking lot, you are overdressed for the first climb. Second, carry the stop layer — the insulated jacket or a puffy — because the moment you stop for lunch at 20°F, your body stops making heat and the wet base layer starts working against you.
Sunglasses or goggles are not optional on a sunny snow day; snow reflects most of the light that hits it. Sunscreen on exposed skin, too — winter sunburn is real and arrives faster at altitude.
Snowshoeing Boots and Shoes: What Works and What Doesn't
You do not need special snowshoe boots. You need a boot that is waterproof, warm enough, and shaped to fit the binding. In practice:
- Insulated winter boots are the best all-around choice: warm when you stop, and stiff enough that the binding does not crush the boot.
- Waterproof hiking boots work well on packed trails and are what most people already own. They are colder when you stop moving, so add a warmer sock or carry the insulated jacket's warmth into your stops.
- Ski and snowboard boots are not a good match for most bindings and defeat the point of walking.
- Running shoes and soft sneakers are the classic first-trip error: the binding has nothing to grip, the mesh soaks instantly, and the shoe flexes inside the frame until your foot slides.
- Kids' boots need to be actual snow boots. The Columbia Youth Bugaboot Celsius ($64.99) is the shape that works: insulated, waterproof, and stiff enough that a kid's foot does not roll inside the binding.
Fit the binding to the boot, not the other way around. Bring your boots if you buy in a store; if you buy online, check that the binding's toe and heel straps open wide enough for your boot's shell, including the extra bulk of an insulated model.
How to Put Snowshoes On and Walk in the First 15 Minutes
- Tighten the boot first. Lace or buckle your boots properly, then step into the binding with your heel all the way back in the heel cup.
- Front strap first, then heel. Get the toe strap snug — your toe should not slide forward under the frame — then lock the heel strap. Check by lifting your foot: the shoe should come up with it, with no rattle.
- Walk with a slightly wider stance. The frames are wider than your boots. Most beginners clip their own ankle in the first fifty steps. Widen your track a few inches.
- Roll the foot, don't lift the knee. Let the tail drag and the binding pivot. Trying to lift the whole shoe like a boot is what makes people exhausted in ten minutes.
- Use the heel lift on climbs. Flip the bar up before the steep part, not halfway through it.
- Kick steps on a firm sidehill. On a hard slope, edge the uphill side of the shoe in and step across rather than trying to walk straight up.
- Watch the downhills. Falls happen going down, not up. Shorten your stride, keep your weight back, and accept a slower descent.
- Adjust once, then stop adjusting. If a strap is loose enough to matter, fix it in the first two minutes; after that, keep walking and re-check at your first real break.
Poles help immediately: they give you a third and fourth contact point on uneven snow and take load off your knees on descents. If you use trekking poles, fit snow baskets — the small summer baskets sink straight through powder.
What to Bring: The Snowshoeing Packing List
A winter day pack is heavier than a summer one because the consequences of being wet or benighted are worse. For a half-day trip, this is the list:
- Water in an insulated bottle, not a bladder. Hose lines freeze in the first hour. A 40 oz vacuum bottle ($39.99) keeps water liquid and doubles as a hot-drink carrier.
- Calorie-dense snacks you can eat with gloves on: bars, nuts, chocolate, jerky. Cold suppresses appetite; eat on a schedule anyway.
- A sit pad or square of closed-cell foam. Sitting on snow without one pulls heat out of you faster than the air does.
- Hand warmers. The air-activated pair packs ($29.99 for 40 pairs) are the cheapest insurance in winter; rechargeable magnetic hand warmers ($39.99) are the better option if you do this weekly.
- A headlamp. Winter daylight ends early and a "quick loop" takes longer in snow. The Black Diamond Spot 400 ($39.95) lives in my pack all season; a lighter kid headlamp ($24.95) goes in the kids' packs.
- A small first-aid kit, plus blister plasters and a spare pair of gloves.
- A 10–20 liter daypack. The Waterfly 20L packable daypack ($25.98) is enough for layers, water, and lunch for two people; a packable bag is also easy to stuff in a car for a spontaneous trip.
- Map, phone in a warm inner pocket, and a power bank. Cold drains batteries; a phone at 20°F can drop 40% in an hour of exposure.
- Sunscreen, sunglasses, and lip balm.
- A repair item: a spare binding strap or a couple of zip ties. Bindings break at the worst time.
- If it is icy rather than snowy, pack traction devices — microspikes ($89.95) for trails that mix packed snow and ice, or coil-style cleats ($34.95) for sidewalks and gentle paths. Snowshoes are the wrong tool on hard ice.
That is a pack that weighs 8–12 lb. It sounds like a lot until you spend a night out because a binding snapped at 3:30 pm in December.
Snowshoeing With Kids
Kids take to snowshoes faster than adults do — lower center of gravity, no fear, and no assumptions about how walking is supposed to feel. What they do not have is heat reserves or patience. Five adjustments make the difference:
- Size by weight and keep the loop short. A two-hour adult loop is a two-mile loop; do half a mile to a mile with young kids, and pick a route with an option to turn around at any point.
- Feed them constantly. A snack every 20 minutes is normal for a kid in the cold. Hunger turns into a meltdown or a chill, and you will not see it coming.
- Hand warmers in the gloves, not the pack. Put them in before you start, while hands are still warm.
- Dress them one layer less than you dress yourself if they are moving, and carry the extra layer for the stop. A kid in a snowsuit on a climb will be soaked inside ten minutes.
- Gaiters and proper boots matter more for kids because they are shorter — snow comes over the boot top constantly. Kids' snow boots plus gaiters is the combination that keeps the whining away.
If the goal is "a fun winter day" rather than "a hike," a sled and a snow-play area will beat snowshoes for children under about six. Snowshoeing earns its place with kids around seven and up, or younger on flat, packed, well-signed trails.
For dogs, see the next section — the same principle applies: keep it short, keep it warm, and check the paws.
Snowshoeing With Dogs
Dogs are excellent snowshoe partners and they overheat more often than they get cold, because they are running twice the distance you are. What to watch:
- Booties for crust and ice. Hard, refrozen snow cuts paw pads; ice balls form between the toes. Booties solve both, and most dogs accept them after a few minutes of high-stepping.
- Skip deep powder with short-legged dogs. A corgi or a basset hound swimming through two feet of snow is not having fun. Packed trails or a groomed multi-use path is the answer.
- Watch for salt and de-icer on trailhead roads and parking lots — rinse paws at the car.
- Do not take a dog on groomed cross-country ski trails where they are prohibited. Nordic centers post the rules; many also require leashes on shared multi-use trails.
- Water for the dog, and a towel. A wet dog in a cold car is a wet, cold car.
If your dog is new to winter, the cold-weather camping with dogs guide covers coats, sleeping arrangements, and how cold is genuinely too cold.
Finding Snowshoe Trails Near You
You do not need a famous mountain. The three sources that cover almost every situation:
- Nordic centers and ski areas with snowshoe trails. These groom, sign, and rent; they usually charge a small trail fee and they are the single best first destination with kids because the route is defined and short loops exist.
- National park and national forest winter trails. Many parks keep a winter trail network with signage and ranger programs, and their own pages list current conditions. Our national parks in winter guide is checked against NPS pages for what stays open to cars and which campgrounds run year-round.
- Trail apps with a snowshoe or winter filter. Filter by distance and elevation gain, then read recent reviews — a route listed as a summer hike can be a posthole nightmare in powder, and recent reviews are the only reliable signal.
A few things that are true across regions:
- In Washington state, winter recreation parking areas (Sno-Parks) require a permit, and the ones with groomed snowshoe loops fill early on weekends.
- In Colorado, elevation decides the snow, not the calendar. Trailheads above roughly 9,000 feet hold snow from November into May; the popular Front Range and Summit County areas get tracked out fast, so an early start matters more than a clever destination.
- In Banff and the Canadian mountain parks, a park pass is required and winter trails are signed from the townsite and from the ski areas.
Region by region, in the phrasings people search:
| Typed search | What you actually get |
|---|---|
| Snowshoeing Colorado | Elevation decides the season, not the calendar: trailheads above roughly 9,000 feet hold snow from November into May. Brainard Lake, the Bear Lake corridor in Rocky Mountain National Park, and the Nordic center at Breckenridge are the tracked-out classics — early starts matter more than a clever destination. |
| Snowshoeing Breckenridge | A groomed Nordic and snowshoe trail network with rentals and a trail fee, at 9,600 feet, which is why the snow holds from November into April. The advantage over a backcountry trailhead with kids is that the loop is signed and short. |
| Snowshoeing Washington | Winter recreation parking areas (Sno-Parks) require a permit, and groomed snowshoe loops fill early on weekends. Stevens Pass, the Snoqualmie corridor, and the Paradise area of Mount Rainier (which runs ranger-led snowshoe walks) are the standard first trips — check the managing agency's winter page for road status before you drive. |
| Snowshoeing Whatcom County | The Mount Baker Highway corridor is the Whatcom answer, and the highway closes at a set winter point, so the plowed parking area you reach is the start of your route. Check the Forest Service road status first; chain requirements apply. |
| Snowshoeing Banff | A Parks Canada pass is required, and the winter trails are signed from the townsite and the ski areas rather than from a single trailhead. |
Wherever you go, the deciding factor on a first trip is not scenery — it is whether the snow is packed. A flat rail-trail with six inches of packed snow beats a spectacular alpine basin you have to break trail into.
Snowshoe Trail Etiquette and Safety
Etiquette has one big rule: stay off the ski tracks. Groomed cross-country trails have two parallel classic tracks cut into one side; walking in them with snowshoes destroys them for every skier on the trail. Walk beside the tracks, single file, on the firm side. On shared multi-use trails, yield to skiers coming downhill behind you and give them room to pass.
Safety has one big rule: avalanche terrain is a training problem, not a gear problem. Most avalanches release on slopes between roughly 30 and 45 degrees, and a snowshoe makes those slopes easy to reach. If the route crosses or climbs a slope in that range — which describes a lot of unmarked backcountry terrain — you need a forecast, a partner, and avalanche training before you go, not a beacon in your pack. Check the local avalanche center forecast the morning of the trip, and choose low-angle terrain (under 30 degrees) until you have the training.
The rest of the winter safety basics, quickly:
- Short days. Plan to be back at the car with an hour of daylight in hand; a 4:30 pm sunset in December means a 2 pm turnaround.
- Tell someone your route and your return time.
- Watch for hypothermia in yourself, not just others: unexplained clumsiness, fumbling with zippers, and unreasonable irritability are the classic early signs of "umbles."
- Eat and drink before you feel it. Cold masks thirst.
- Do not cross frozen lakes or streams unless you have local knowledge and evidence of thickness.
- Cell coverage disappears fast off highway corridors; carry the map even if the phone works at the trailhead.
Snowshoeing, Question by Question: The Answer Key
Every phrasing people actually type, in both word orders, with the short answer.
| Question, as people type it | The answer |
|---|---|
| Snowshoeing meaning / snowshoeing what is it / what is snowshoeing | Walking on snow with a wide platform strapped to each boot so your weight is spread over a bigger area and you stay on the surface instead of sinking. No glide, no edge, no waxing. |
| Snowshoes, how do they work | The frame spreads your load over a much larger area than a boot sole; the binding lets the shoe pivot at the ball of your foot so the tail drags instead of lifting; steel teeth underneath grip packed snow. |
| Snowshoes what size / what size snowshoes do I need | Size by total load — you plus pack: 22 inch to about 180 lb, 25 inch for roughly 120–220 lb, 30 inch for roughly 150–280 lb. Go one size up for deep powder, or add clip-on flotation tails. |
| Snowshoes how to choose / snowshoes what to look for | Four things decide it: an aluminum frame, a binding that closes over your real winter boot with gloves on, steel traction under the ball of the foot and along the rails, and a heel lift bar if you climb. |
| Snowshoeing equipment / what equipment do I need for snowshoeing | Snowshoes, waterproof insulated boots, wool socks, gaiters, a three-layer clothing system, gloves plus liners, beanie, and a day pack with water, snacks, headlamp, hand warmers and first aid. |
| Snowshoeing what to wear / what to wear snowshoeing | Merino or synthetic base layer, light fleece midlayer, shell in the pack, soft-shell pants, gaiters, midweight wool socks, insulated gloves, beanie, neck gaiter. Start slightly cold — you warm up in ten minutes. |
| Snowshoeing what shoes to wear / snowshoeing shoes / snowshoeing boots | Snowshoeing shoes are simply waterproof insulated winter boots; waterproof hiking boots work on packed trails. No running shoes, no ski boots — the boot has to fit securely in the binding. |
| Snowshoeing what to bring / what to bring snowshoeing / snowshoeing what do you need | Water in an insulated bottle, calorie-dense snacks, a sit pad, hand warmers, a headlamp, first aid, spare gloves, map and phone, and a spare binding strap or two zip ties. |
| Snowshoes how to use / snowshoe how to put on | Boot heel all the way back in the heel cup, toe strap snug so the toe cannot slide forward, then the heel strap; lift your foot and the shoe should come with it without rattling. Walking: wider stance, roll the foot, let the tail drag. |
| Snowshoe how much snow / snowshoeing how much snow | About six inches of settled or packed snow for established trails, closer to a foot of fresh snow before off-trail travel stops scraping rocks and roots. A dusting is not enough — you wreck the trail base and the shoes. |
| Snowshoeing trails near me / snowshoeing near me | A Nordic center or ski area with a snowshoe loop first, then a national park or forest winter trail network, then a trail app with a winter filter and recent reviews. |
| Snowshoe what to do / snowshoe how many trails | Pick a marked, packed route with a short loop option, walk beside the ski tracks rather than in them, flip the heel lift on the climbs, and turn around on schedule rather than on how you feel. How many trails exist depends on the area — start with one and repeat it in better snow. |
| Snowshoeing how to video | Video is the fastest way to see the gait, and any two-minute clip shows the same thing the eight steps above describe: wider stance, foot rolling rather than lifting, tail dragging. Watch it, then walk the first fifty steps slow. |
| Is snowshoeing hard | The walking is easy; the workout is real. Breaking trail in powder is the hardest version. On packed snow the first hour is easier than a hilly summer hike. |
| Do I need poles for snowshoeing | Not required, but they help on uneven snow and descents. Fit snow baskets or they sink instantly. |
| Can kids snowshoe | Yes, and most take to it quickly. Weight-rated youth snowshoes, loops under a mile, a snack every 20 minutes. |
| Can I snowshoe with my dog | Usually yes. Booties for ice and crust, packed trails rather than deep powder, and stay off groomed ski trails where dogs are prohibited. |
| Is snowshoeing good exercise | It burns more than walking the same distance because you move more weight and often break trail. Expect to be working, and dress accordingly. |
Snowshoeing FAQ
What should I wear for my first snowshoe trip?
A merino or synthetic base layer, a light fleece midlayer, breathable soft-shell or nylon pants, midweight wool socks, waterproof insulated boots, a beanie, a neck gaiter, and insulated gloves over thin liners — with an insulated jacket and a windproof shell in the pack for stops. Dress so that you feel slightly chilly at the trailhead; snowshoeing generates a lot of heat on the first climb, and an overdressed start leaves you in a wet base layer for the rest of the day.
Can you snowshoe in regular hiking boots?
Yes, if they are waterproof and warm enough. The binding simply has to fit around the boot securely, with the heel seated in the cup and no forward slide. Hiking boots are ideal on packed trails and colder once you stop moving; for powder and long stops, insulated winter boots are better. Avoid running shoes and soft sneakers — the binding cannot grip them and they soak through immediately.
How much does it cost to start snowshoeing?
A basic adult pair runs about $70–$180 new, and gaiters plus a daypack are the only other purchases most beginners need. Rental at a Nordic center or outfitter is typically $15–$25 a day, which is the cheapest way to test whether your family actually likes it before buying four pairs. Used snowshoes are widely available and rarely worn out.
Do I need special snowshoes for deep powder?
You need more flotation: a longer shoe (30 inch and up) or a model that accepts clip-on flotation tails. The same adult who needs a 22-inch shoe on a packed rail-trail needs a 30-inch shoe to stay on top of fresh snow with a winter pack. Tails are the cheaper path — buy a mid-size shoe and add tails for powder days.
Is snowshoeing safe for beginners?
On packed, marked, low-angle trails it is one of the safest winter activities there is. The risk is the terrain, not the sport: snowshoes make it easy to walk onto slopes steep enough to avalanche. Stay on gentle terrain and established routes for your first season, check the avalanche forecast if there is any chance your route crosses steeper ground, and carry a headlamp because winter daylight ends early.
How many calories does snowshoeing burn?
It varies enormously with snow conditions, pack weight, and pace, so a specific number is misleading. What is reliable: it burns noticeably more than walking the same distance on dry ground, because you are lifting the shoe and often breaking trail. Plan snacks and water as if you were doing a moderate hike uphill, not a flat walk.
The Bottom Line
Snowshoeing is the lowest-cost winter activity that gets a family outdoors together, and the gear decisions are genuinely simple: size by your total weight including the pack, buy snowshoes whose bindings fit the boots you already own, dress in three layers and start cold, and pack for the stop rather than the walk. Then choose a packed, low-angle trail with a short loop, don't walk on the ski tracks, and check the avalanche forecast before you head anywhere with a real slope on it.
For the rest of the winter kit — sleeping systems, tent choices, and how to keep a family warm at night — the winter camping gear checklist and the winter hiking layering guide are the two companion reads.
<!-- AFFILIATE_DISCLOSURE -->