National Park Camping for Beginners: Your Complete 2026 Guide to Gear, Planning, and Pro Tips
Planning your first national park camping trip? From choosing the right tent to packing cooking gear and navigating reservations, this beginner's guide covers everything you need for an unforgettable outdoor adventure.
So you've decided to camp in a national park. Good call. There's nothing like waking up to sunrise hitting the granite walls of Yosemite or hearing elk bugle outside your tent in Rocky Mountain National Park.
But if this is your first time? I'll level with you: it can be intimidating. Between the reservation system (which feels like buying concert tickets), the gear choices (do you really need a $450 cooler?), and the logistics of feeding yourself in the woods — it's a lot.
I've been through it. I've also watched friends go through it. The most common first-timer mistakes aren't about skill — they're about preparation. Wrong tent size. No headlamp. Showing up to a sold-out campground with no backup plan.
This guide is everything I wish someone had told me before my first national park camping trip. We'll cover gear, planning, and the little things that make the difference between "I'm never doing this again" and "when can we go back?"
Step 1: Get the Reservation (Seriously, Do This First)
Before you buy a single piece of gear, lock in your campsite. National park campgrounds on Recreation.gov fill up months in advance — sometimes the moment reservations open.
Key reservation tips:
- Yosemite, Yellowstone, Glacier: Book 5-6 months ahead for peak season (June-September)
- Less-famous parks (Great Basin, Congaree, Capitol Reef): You can often snag a spot 2-4 weeks out
- First-come, first-served: Some parks hold back a portion of sites. Show up by 7 AM on a weekday for your best shot
- Cancellation window: People cancel 48-72 hours before their reservation. Set alerts on Recreation.gov
If you strike out on campground reservations, look at national forest campgrounds adjacent to the park. They're often 20-30 minutes from the park entrance, quieter, and half the price. Dispersed camping on BLM land is another option if you're willing to go without facilities.
For a deeper dive on trip logistics, check out our first camping trip planning guide — it walks through the entire planning timeline from reservation to departure day.
Step 2: Pick the Right Tent (And the Right Size)
Tent shopping is where most beginners overthink and overspend. Here's the simple rule: buy one size up from what the label says.
That "4-person tent"? It fits two adults comfortably with gear. Maybe. The "6-person tent"? That's what you actually want for a family of four.
If you want to understand exactly why sizing labels lie, we wrote a whole guide on how to choose the right tent size — it breaks down floor dimensions, peak height, and vestibule space with actual numbers.
For beginners, here's what to look for:
Tent features that matter for first-timers:
- Instant or fast-pitch design: You don't want to spend 45 minutes wrestling with poles while the sun sets. The Coleman Instant Setup Tent goes up in about 60 seconds — no joke
- Full-coverage rainfly: Afternoon thunderstorms are common in mountain parks. A rainfly that reaches the ground keeps you dry when the sky opens up
- Standing height: Being able to stand up to change clothes is a luxury you'll appreciate after day two
- Mesh ceiling: Stargazing from your sleeping bag is one of camping's greatest pleasures
If you're car camping (which you should be for your first trip), weight doesn't matter. Prioritize space, ease of setup, and weather protection. The EVER ADVANCED 6-Person Blackout Tent ($169.99) is a great value pick — blackout fabric means you're not waking up at 5:30 AM with the sun, and the cabin design gives you walk-around headroom.
For a broader comparison of tent options across budgets, see our best camping tents guide.
Step 3: Sleep System — Don't Cheap Out Here
Your sleep setup determines whether you wake up refreshed or miserable. Three components matter:
Sleeping pad: Insulation from the cold ground is more important than cushioning. The Therm-a-Rest Z Lite Sol ($44.95) is the gold standard for a reason — closed-cell foam can't deflate, weighs nothing, and works as a camp seat during the day.
Sleeping bag: Temperature ratings are "survival" ratings, not "comfort" ratings. A 20°F bag keeps you alive at 20°F, but you won't be comfortable. For summer national park camping (lows in the 40s), a 20-30°F bag is perfect. The Kelty Tru.Comfort Doublewide ($119.95) is a standout for couples — it's a two-person bag that actually works, with a built-in blanket system so each person can adjust their warmth.
Pillow: Bring a real pillow from home. Those inflatable camp pillows are a last resort for backpackers, not car campers. You have space. Use it.
Step 4: The Kitchen — You're Not Just Eating Hot Dogs
Camp cooking is one of those things that sounds like a chore until you do it. Then it becomes the highlight of the trip. There's something primal about cooking over fire (or a camp stove) while the evening cools down around you.
The minimum viable camp kitchen:
- Two-burner stove: The 2-Burner Camping Stove with Windshield ($69.99) gives you 24,000 BTUs and a built-in windscreen — boil water for coffee while you cook eggs at the same time
- Cast iron: One Lodge cast iron skillet replaces half your kitchen. Eggs, pancakes, steak, cobbler — it does everything
- Cooler: You don't need a $450 YETI (though they're great). A mid-range cooler with proper ice management — freeze water bottles instead of loose ice, keep it in the shade, open it less — works for 3-4 day trips
- Water: The Nalgene 32oz Wide Mouth ($15.99) is indestructible and doubles as a hot water bottle in your sleeping bag on cold nights
Step 5: The Little Things That Make or Break Your Trip
These are the items first-timers always forget — and they're disproportionately responsible for bad camping experiences:
- Headlamp, not flashlight: You need both hands free. The Petzl Actik Core ($69.95) is rechargeable and throws 600 lumens — enough to light up the entire campsite
- Camp lantern: For the picnic table. The Etekcity 2-pack ($16.99) runs on AA batteries and lasts an entire trip
- Trekking poles: Even if you're not a "hiking person," poles save your knees on downhill sections. Black Diamond Trail Ergo Cork ($99.95) has natural cork grips that don't get slippery when you sweat
- Daypack: For hikes away from camp. The Osprey Daylite Plus ($74.95) carries 20 liters — enough for water, snacks, layers, and a first-aid kit
- Trash bags: Bring twice as many as you think you need. Pack out everything. Leave No Trace isn't a suggestion in national parks
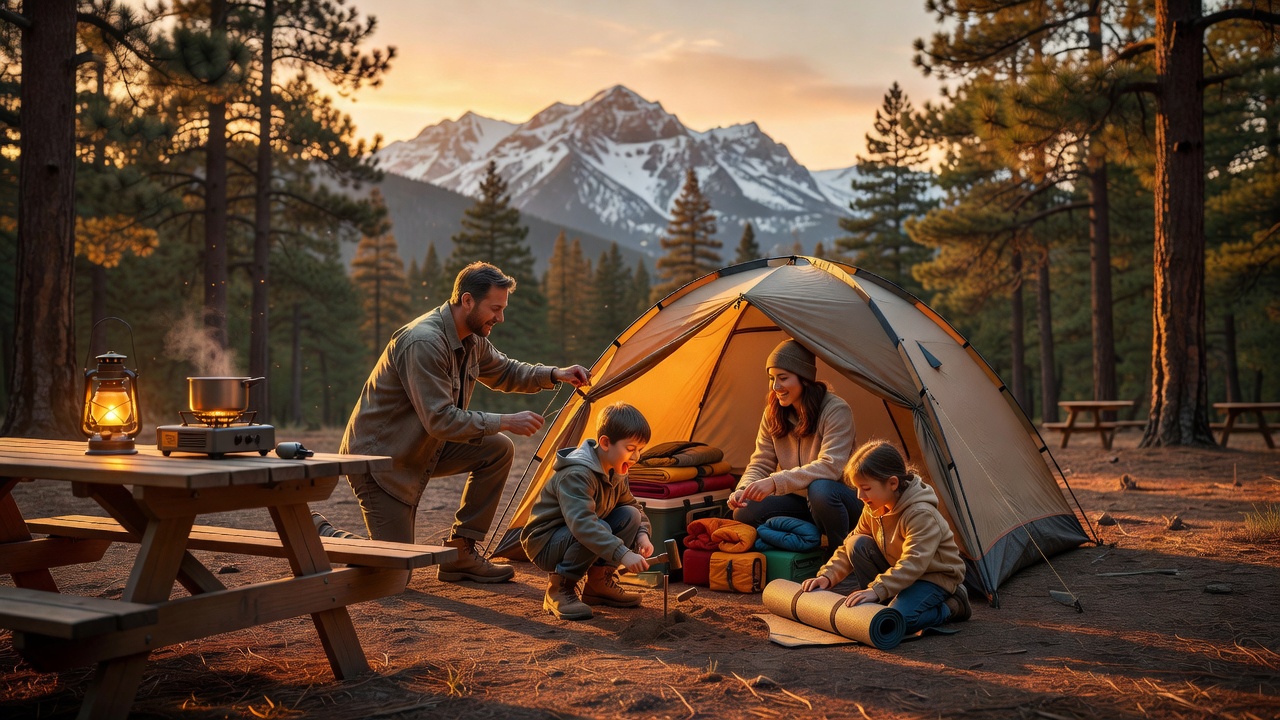
If You're Bringing Kids (Or Dogs)
Family camping is a whole different beast — and honestly, it's where the best memories come from. But the packing list doubles.
We put together a family camping checklist that covers everything from kid-specific gear to entertainment (spoiler: a collapsible bucket and a small shovel will buy you two hours of peace). The key insight: bring one "luxury" item per person. For kids it might be a favorite blanket. For you, it might be a pour-over coffee setup. These small comforts are what make family camping sustainable, not a one-and-done experiment.
If you're bringing a dog, check park-specific pet policies first. Many national parks restrict dogs to campgrounds, paved roads, and parking lots — no trails. National forests adjacent to parks are usually far more dog-friendly.
Your First Trip: A Suggested Itinerary
Day 1 — Arrival & Setup
- Arrive by 2 PM (gives you daylight for setup)
- Pitch tent, organize kitchen, scout the campground
- Easy dinner: pre-made foil packets or pasta + sauce
- Campfire + stargazing
Day 2 — Explore
- Morning: Short hike (3-5 miles) to get your legs
- Afternoon: Rest at camp, read, nap, let kids explore
- Evening: Real camp cooking — try the cast iron
- Pro tip: most injuries happen on day one when people push too hard. Ease in.
Day 3 — Go Bigger or Go Home
- Longer hike or scenic drive
- Visit the visitor center (seriously — the rangers know things Google doesn't)
- Final night: use up the good food, make dessert in the cast iron
For more comprehensive trip planning, our camping trip planning guide walks through site selection, meal planning templates, and weather contingency plans.
The Bottom Line
Your first national park camping trip won't be perfect. You'll forget something. The tent will take longer to set up than the YouTube video promised. Someone will burn a marshmallow into a carbonized hockey puck.
But you'll also sit by a fire under more stars than you've ever seen, drink coffee that tastes inexplicably better outdoors, and watch your kids (or your dog, or your partner, or just yourself) discover that the world is bigger and better than a screen.
Start with a weekend trip. Pick a park within a 3-hour drive. Book a developed campground with bathrooms and potable water. Get the gear that fits your budget — you can upgrade later. The important thing is going.
Need help choosing your tent? Start with our camping tent buying guide. Already know where you're going? Make sure you've got the right tent size for your group.
Now go reserve that campsite before someone else does.
<!-- AFFILIATE_DISCLOSURE -->As an Amazon Associate, TrailMapz earns from qualifying purchases. This doesn't affect the price you pay, and we only recommend gear we'd use ourselves.