RV Water System Setup Guide (2026)
How to hook up your RV water system safely — drinking-safe hose, brass pressure regulator, inline filter, and sewer setup. Step-by-step guide with the exact Camco gear experienced RVers use, prices included.
In this article · 11 sections
- Quick Answer: What Gear Makes an RV Water System Safe?
- Know Your RV Water System: Three Circuits
- Circuit 1 — Fresh Water In: The Hose Is Not Optional
- Protect Your RV From Campground Pressure
- Make Campground Water Taste Like Home
- Showers That Feel Like Home
- Circuit 3 — Waste Out: The Sewer Hookup, Done With Dignity
- Keep the Black Tank Honest
- Common RV Water Mistakes (Learn From Mine)
- The 10-Step RV Water Hookup (Print This)
- RV Water System FAQ
It's 6:45 PM at a campground in Virginia. I've just backed a rented 26-foot travel trailer into site 14, and I'm standing at the water pedestal feeling exactly as confident as someone who has never hooked up an RV water system before. I screw the hose onto the spigot, open the valve, and walk back inside.
The trailer starts making a sound I can only describe as a plumber having a panic attack. The pipes rattle. The connections hiss. The toilet fill valve squeals. I run back out, shut the spigot, and stare at the hose like it personally betrayed me.
That was my first RV water hookup, and the problem was embarrassingly simple: I used a garden hose, no pressure regulator, and the campground's water came in at around 90 PSI — nearly double what my trailer's plumbing was designed to handle. I got lucky that night. No burst lines, no flooded floor. But plenty of RV owners don't.
This guide covers the entire RV water system the way I wish someone had explained it to me: the three circuits, the exact gear to connect them safely, and the setup order that takes five minutes instead of an hour of trial and error. If you're brand new to RV life, start with our RV camping for beginners setup guide for the big picture — then come back here for the water system specifically. For the full list of gear that protects your rig, our essential RV accessories checklist covers everything beyond water.
Quick Answer: What Gear Makes an RV Water System Safe?
Short on time? Here is the whole guide compressed into the parts that decide whether your hookup is safe and your water tastes right. The detail behind each point is in the sections below.
- Your RV has three separate water circuits — fresh water in, on-board tank/pump/heater, and waste out — and confusing them is where the expensive mistakes live. Campground water enters only through the city-water inlet.
- Never hook up without a pressure regulator. Campground spigots routinely run 60–90 PSI; RV plumbing and PEX lines are built for roughly 40–50 PSI. The Camco 40055 brass regulator ($16.99, 4.6★ / 36,000+ reviews) is preset to that range with a built-in gauge — the cheapest insurance on the whole rig.
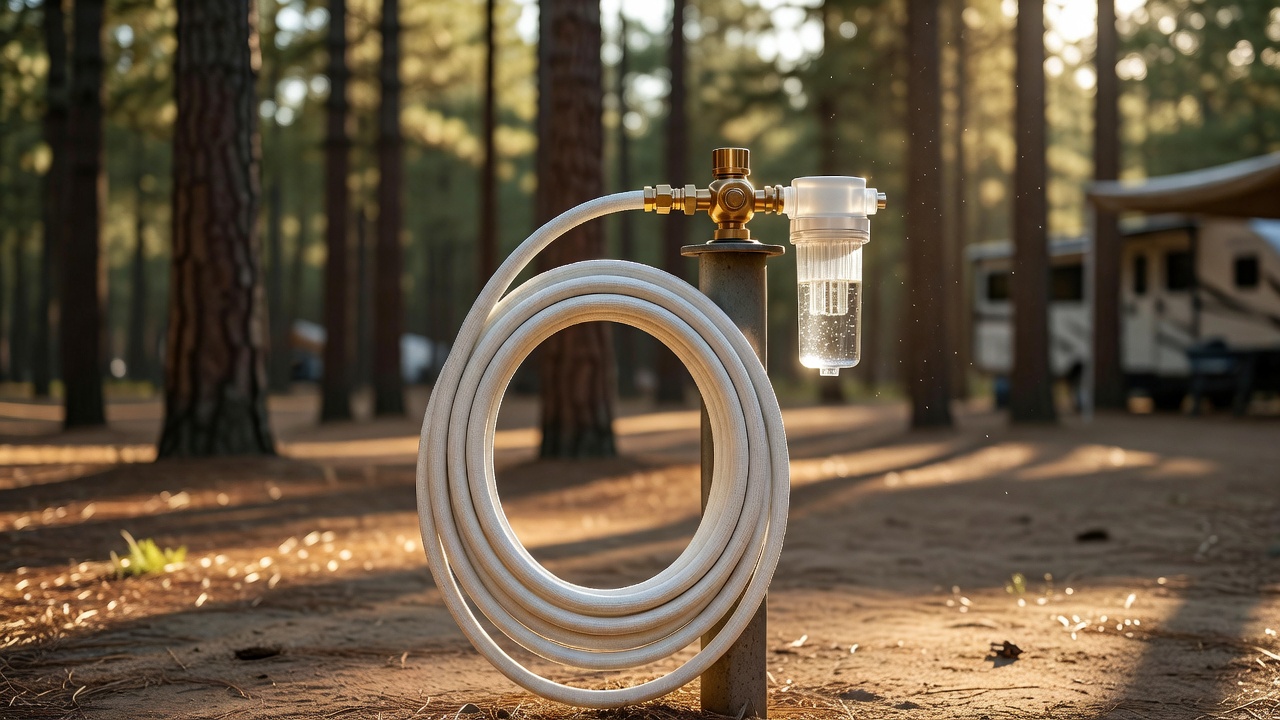
- A garden hose is not a drinking-water hose. Use an NSF-certified, lead-free, BPA-free hose like the Camco TastePURE 25-ft ($13.97, 4.5★ / 17,700+ reviews). Garden hoses leach the taste of the hardware store into everything you drink.
- One inline filter after the regulator fixes campground water. The Camco TastePURE inline filter (40043) ($17.99, 4.5★ / 22,000+ reviews) pulls sediment and chlorine taste; it also keeps grit out of your pump and toilet valves.
- Low-flow showers feel weak — a dedicated RV showerhead fixes it without more water. The Oxygenics 26488 BodySpa ($31.99, 4.5★ / 11,300+ reviews) uses a 60-inch hose and pressurizes the stream, so you get a better shower on the same tank.
- Sewer hookup: downhill, clear elbow visible, black tank first, then gray. The Camco RhinoFLEX 20-ft complete kit ($60.02, 4.7★ / 22,900+ reviews) has the fittings that keep it clean and predictable.
- Treat the black tank every time you dump. One TST MAX drop-in ($14.67, 4.6★ / 39,600+ reviews) treats a tank up to 40 gallons for up to seven days — skip it and the smell backs up through the toilet seal within a day.
- Whole setup is about $155. Hose, regulator, filter, showerhead, sewer kit, and tank treatment together protect thousands of dollars of plumbing.
The one-line version: regulator, drinking-water hose, and filter on the way in; downhill hose and a treatment drop on the way out — and never open a spigot full-blast into an unregulated RV.
Know Your RV Water System: Three Circuits
Every RV has three separate water systems, and confusing them is where the expensive mistakes live:
- Fresh water intake — the spigot-to-tank or spigot-to-pipes connection. This is where campground water enters your rig, and it's the circuit most people hook up wrong.
- On-board water — the fresh tank, pump, water heater, and the pipes inside the walls. If your rig is level and your pump is healthy, this circuit mostly takes care of itself. When it doesn't, the failure is usually at the appliance rather than in the pipes: RV water heater not working covers how to tell whether the gas side or the electric side is the one that died. If the pump runs but nothing comes out, start with the RV water pump priming and pressure guide before you replace a part.
- Waste out — the gray tank (sink and shower water) and black tank (toilet), which empty through the sewer hose at a dump station or sewer connection.
The hookup ritual is really just: bring water in safely on the fresh side, and carry waste out without drama on the waste side. Here's how each one is done.
Circuit 1 — Fresh Water In: The Hose Is Not Optional
The single most common RV water mistake is using whatever hose is lying around. A garden hose from the garage is not a drinking-water hose. It's made with cheaper rubber and plastic compounds that leach into the water — that classic "hose taste" — and some older hoses contain lead in the brass fittings or vinyl that isn't certified for potable use. You're going to brush your teeth, wash dishes, and fill coffee pots with this water. It matters.
The right tool is a dedicated, NSF/ANSI 61-certified drinking-water hose. The Camco TastePURE 25-Ft RV Drinking Water Hose at $13.97 is the standard answer, and it's what most experienced RVers keep in the bay:
- NSF/ANSI 61 certified — no lead, BPA, or phthalates, so the water tastes like water, not rubber
- 5/8-inch interior diameter — full flow at campground pressure, no trickle
- Diamond-hatch reinforced PVC — resists kinks and UV damage, which matters because this hose lives on the ground in the sun for weeks at a time
- White color reflects heat, keeping the water cooler on hot afternoons
One practical note: buy a hose that's a little longer than you think you need, and never use the same hose for filling your fresh tank and for drinking water if it's a non-certified one. With the TastePURE, you can use it for both — that's the point.
Protect Your RV From Campground Pressure
Here's the part nobody tells first-timers: campground water pressure is not regulated to be safe for your RV. Park water systems can push 60, 80, even 100+ PSI at the pedestal, especially at popular parks with fresh pumps or hilly terrain. Most RV plumbing — pex lines, fittings, and the little plastic valves inside faucets and toilets — is rated for 40–60 PSI. Exceed that and you're risking burst lines, leaking fittings, and a water heater relief valve that vents at 2 AM.
The fix costs less than a tank of gas: a pressure regulator that lives between the spigot and your hose. The Camco 40055 RV Water Pressure Regulator, Brass at $16.99 is the one I recommend:
- Holds hookup pressure to a safe 40–50 PSI — right in the sweet spot for RV plumbing
- Solid brass body — survives sun, weather, and hundreds of hookups; plastic regulators crack after a season and start leaking or, worse, fail open and feed your rig full park pressure
- Lead-free and drinking-water-safe — it sits upstream of your hose, so this matters
- Standard 3/4-inch garden threads — screws onto any pedestal and any hose in seconds
Order of assembly at the pedestal: spigot → regulator → hose → RV. If you're also using a filter (next section), it goes after the regulator, before the hose — or between hose and RV, depending on the filter's design.
Make Campground Water Taste Like Home
Even with a certified hose, campground water can taste like a swimming pool. Park water is heavily chlorinated (that's how it stays safe through long runs of pipe), and some parks draw from wells with noticeable mineral and sediment load. The water won't hurt you — it just won't taste great, and it can leave a film on dishes and a smell in the shower.
An inline filter solves this in seconds. The Camco TastePURE RV Inline Water Filter (40043) at $17.99 screws between the hose and your city-water hookup:
- GAC and KDF filtration — cuts chlorine taste, sediment, and odors from campground water
- Install in seconds, no tools — threads onto the hose connection and you're done
- Built-in flexible hose protector — relieves strain on the connection point so the joint doesn't fatigue and leak
- Clear housing — you can see when the filter is spent and needs replacing (roughly every season or 3–6 months of use, depending on water quality)
The standard setup is: spigot → regulator → filter → hose → RV. With that chain in place, you've solved pressure, taste, and safety in one five-minute hookup.
Showers That Feel Like Home
Here's a small confession: the first time I showered in an RV, I gave up and used the campground bathhouse for the rest of the trip. The pump-fed showerhead dribbled lukewarm water in a sad, narrow cone, and I stood there shivering, doing the math on how much water I was wasting trying to rinse.
The fix is a better showerhead, and it's one of the highest-satisfaction upgrades in all of RV life. The Oxygenics 26488 BodySpa RV Handheld Shower at $31.99 fixes the weak-spray problem mechanically:
- Internal turbine amplifies pressure — takes the weak flow from a pump-only tank and turns it into a strong, wide spray. It doesn't use more water; it uses the water more efficiently
- Push-button pause at the head — stops the flow while you lather or shave, which saves tank water and pump cycling. On boondocking trips this is a genuine water-conservation feature
- 60-inch hose — reaches across the stall so you're not fighting a 3-foot leash
- Non-stick finish — resists mineral buildup, which is a real issue with hard campground water
It swaps in with no tools (the existing head unscrews) and it works whether you're on city water or your fresh tank. If you camp with kids, the pause button alone is worth it — nobody rinses faster than a child who has found a pause button.
Of course, all of this assumes your RV actually has a shower stall. If you're tent camping or dry camping in a van without plumbing, the RV showerhead won't help you — you need a portable rig instead. Our complete camp shower guide walks through solar shower bags, rechargeable pump showers, privacy shelters, and the best ways to conserve water when there's no hookup in sight.
Circuit 3 — Waste Out: The Sewer Hookup, Done With Dignity
Nobody enjoys this part, but everyone does it. The goal is simple: connect your dump valve to the sewer connection in under a minute, with no spills, and be able to SEE when the tank is actually empty.
The Camco RhinoFLEX 20-Ft Complete RV Sewer Hose Kit at $60.02 is the kit experienced RVers reach for first, and it's the one I'd buy again:
- Everything in one box — 20-foot RhinoFLEX hose with pre-attached swivel bayonet fittings, a clear 90-degree elbow, a 4-in-1 sewer adapter, and a storage cap. No hose clamps, no assembly, no "wait, I need a different adapter" moments at the dump station
- Swivel fittings — the hose end rotates so you're not twisting the hose to line up threads
- Clear elbow — this is the feature you'll love most: you can watch the flow and know exactly when the tank is empty instead of guessing and leaving a puddle
- Stores compactly — the whole system lives in one cap, so it doesn't become a smelly coil in a plastic bag
Two rules for the waste side: keep the hose slightly downhill the whole way (no dips where waste pools), and use a hose support if the run is long. And always, always dump your gray tank last — the soapy gray water flushes out whatever the black tank leaves in the hose.
Keep the Black Tank Honest
Here's a thing nobody tells you about RV toilets: they use very little water, which is great for your fresh tank and very bad for your black tank. Without enough liquid, waste and toilet paper can pile into a "pyramid" that eventually blocks the tank sensors and gives you the classic "tank reads full when it's a third empty" problem — or worse, a real clog at the worst possible moment.
Tank treatment is the boring, necessary maintenance that prevents this. The Camco TST MAX RV Toilet Treatment Drop-INs at $14.67 are the low-mess version:
- One packet treats a tank up to 40 gallons for up to seven days — drop it in after a dump and you're done
- Helps break down waste and tissue — keeps the tank working instead of piling up
- Septic-safe and citrus-scented — no harsh chemical smell inside the rig or at the dump station
- USA-made and easy to measure — no liquid measuring cups, no splashes
Use it every time you empty, and your tank sensors will keep telling the truth — which is worth more than the $14.67 when you're at a dump station with a line behind you.
Common RV Water Mistakes (Learn From Mine)
I've made most of these, and every one cost me either money or a cold shower:
- Using a garden hose for drinking water — the taste alone is enough reason to switch; the leachates are the real reason. A certified hose is $14.
- Skipping the pressure regulator — I did this on hookup number one. The rattling pipes weren't just scary; that's your plumbing being stressed past its rating. A burst pex line inside a wall is a $500+ repair.
- Putting the filter before the regulator — the filter can't survive full park pressure spikes, and it degrades faster. Regulator first, always.
- Forgetting to purge air after hookup — open a faucet inside before you fully open the spigot, so air in the lines doesn't hammer the system (that water hammer is what cracks fittings).
- Not testing the sewer hose before you need it — connect it, check the clear elbow, then open the valve slowly. A dry run at home saves a mess at the campground.
- Dumping black before gray — do the gray tank last so the soapy water flushes the hose. Learned this from a very patient neighbor at a KOA in Ohio.
- Ignoring the tank until it's a problem — treatment packets are a 20-second habit that prevents sensor failures and clogs.
- Winterizing late (or skipping it entirely) — a frozen pump housing or split water-heater tank is the most expensive mistake on this list, and it hides until spring. Our step-by-step RV winterization checklist walks through the drain-bypass-antifreeze routine that takes about 20 minutes and roughly $40 in gear.
The 10-Step RV Water Hookup (Print This)
The whole ritual, in order, once you're parked and level:
- Check the pedestal — confirm the spigot is on and the water runs clear before you connect anything.
- Attach the pressure regulator to the spigot first.
- Attach the inline filter after the regulator (if using one).
- Screw on the drinking-water hose (NSF-certified, 25 feet or longer).
- Connect the hose to your RV's city-water inlet — the white inlet, not the black flush inlet.
- Open a faucet inside (or the low-point drain) to purge air.
- Open the spigot slowly — give the lines time to pressurize without a hammer.
- Check all connections for drips — a damp fitting is a loose fitting; snug it by hand, not with pliers.
- On the waste side, run the sewer hose downhill to the connection with the clear elbow visible.
- Dump black, then gray, and drop a TST packet in the tank before you close up.
That's the whole system. The gear total — hose, regulator, filter, showerhead, sewer kit, tank treatment — is roughly $155, and it protects thousands of dollars of plumbing while making every trip more comfortable. Compared to the repair bill for one burst line, it's the cheapest insurance in RV camping.
If you're still deciding whether RV life is for you at all, our RV vs. tent camping comparison breaks down the real costs and tradeoffs of both. And when you're ready to stock the rig beyond water, the essential RV accessories checklist has the surge protector, leveling blocks, and everything else that keeps a trip from going sideways.
RV Water System FAQ
Do I really need a water pressure regulator on my RV?
Yes, if you connect to campground water at all. City and campground spigots commonly run 60–90 PSI, while RV plumbing and PEX lines are engineered for roughly 40–50 PSI. Above that range you get rattling pipes, blown fittings, and eventually a split line behind a wall. A brass preset regulator like the Camco 40055 ($16.99) caps incoming pressure at 40–50 PSI and shows the reading on a built-in gauge, so you know what the pedestal is actually delivering. Regulate before the hose, not after the damage.
Why can't I use a regular garden hose for RV drinking water?
Because garden hoses are not made to be drunk from. They are not NSF-certified for potable water, and their vinyl and fittings can leach chemical taste and, in older hoses, lead into the water sitting inside them. RV use is exactly that scenario — water parked in a warm hose for days and then pumped into your drinking tank. Use a lead-free, BPA-free, NSF-certified hose such as the Camco TastePURE 25-ft ($13.97) for anything that goes in the fresh system.
How often should I treat the black tank?
Every time you dump until it runs clear, and again before you close up for storage. RV toilets drop waste into a holding tank, and odor control depends on the treatment breaking solids down. A single TST MAX drop-in ($14.67) treats a tank up to 40 gallons for up to seven days. Skip it and the smell backs up through the toilet seal within about 24 hours — which is a lesson most people only need once.
<!-- AFFILIATE_DISCLOSURE -->